How to Grow Fruits, Vegetables, and Herbs in a Container Garden
By Dan Nosowitz
on June 3, 2015
An expert guides you through getting the most out of your teensy container garden.
Most urbanites, and many suburbanites, are restricted to containers when planting a garden. Containers have a lot of advantages: they’re portable, cheap, and can be placed in awkward places, from yards to fire escapes to roofs. But they have special needs, too, and many home gardeners make some key mistakes that can prevent their fruits, vegetables and herbs from delivering home-grown deliciousness. So we’re going to walk you through the basics of setting up an expert-approved container garden.
[mf_h2 align=”left” transform=”uppercase”]It’s All About Sun[/mf_h2]
“When I’m helping someone set up a container garden, the first thing I look at is sunlight. That is the number one limiting factor as far as what’s possible,” says Sheperd. You want south-facing light, because you want the majority of your light to come in the morning. You might think that the more sun you can get, the better, but that’s not always true: harsh, broiling afternoon light can burn your plants and evaporate water too quickly for your soil to really absorb it. And in containers, that problem is amplified. “There’s less soil volume, so things do dry out more quickly,” says Sheperd.
[mf_h2 align=”left” transform=”uppercase”]Does The Container Matter?[/mf_h2]
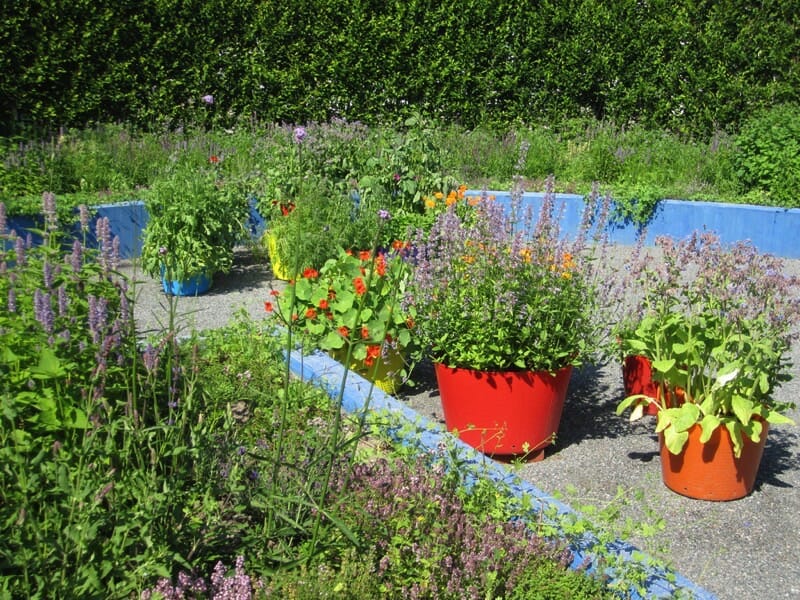
There are hefty price differences among pots. You might think that a beautiful ceramic or terra cotta or galvanized steel container must have some superior growing ability compared with cheapo plastic containers. You’d be wrong. “It’s not really going to make a difference,” says Sheperd. All of those materials will work equally well (though Sheperd says terra cotta can tend to break down after a few years). If you want an expensive glazed ceramic pot because it looks great, that’s fine! But Sheperd actually recommends a cheap all-purpose bucket of the sort you can get at Home Depot for under $3 apiece.
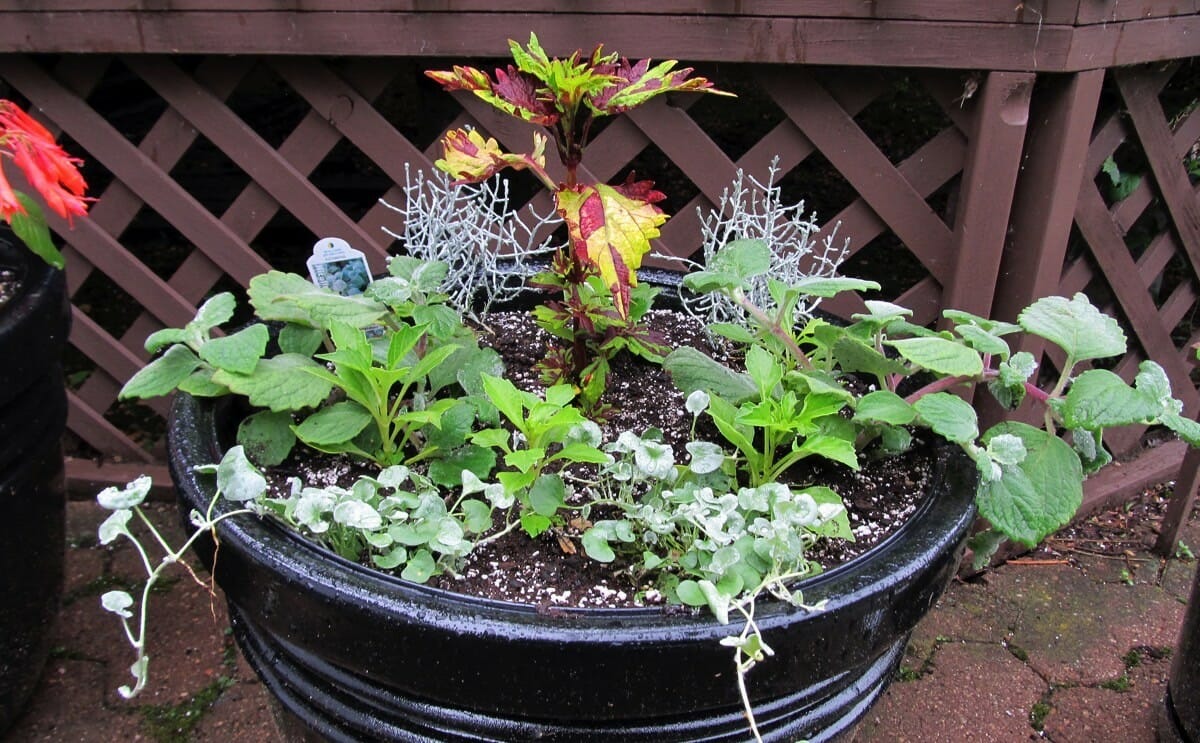
The most important thing in container gardening, and the thing that almost everyone gets wrong, is not the material of the container but the size. “I’d say that size is the first factor,” says Sheperd. “You want to go bigger. Bigger means more soil volume, which means more root mass, which means it can hold more nutrients and water.” Small ornamental pots are cute when they hold seedlings, but they’re going to significantly retard your ability to grow plants. “I’ll often show up at people’s houses and they’ll have, like, a solo-cup-sized pot with a pumpkin plant in it,” says Sheperd. “And they’re like ‘I don’t know why I didn’t get any pumpkins!'”
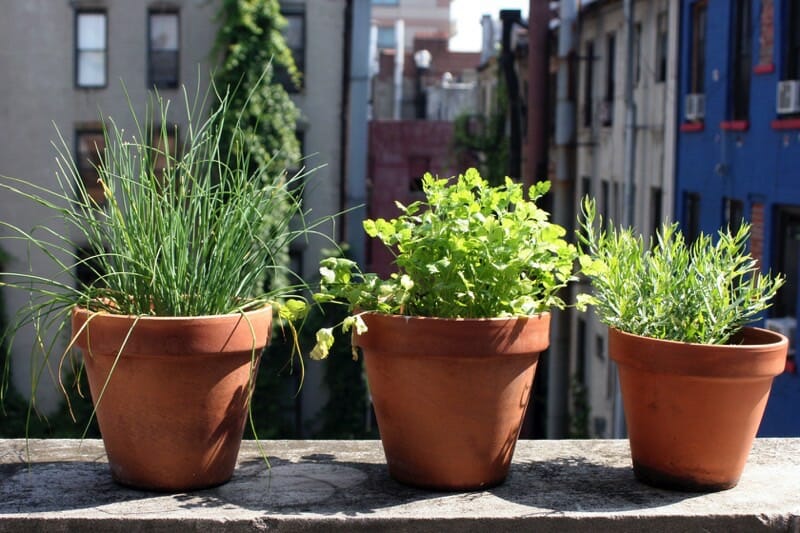
Different plants have different needs. In general, herbs, greens and lettuces require minimal space. A shallow window box is fine for that kind of thing. But for tomatoes, peppers, zucchini, cucumbers or beans? You need to go bigger. Way bigger.
Each individual plant in those categories should get its own 5-gallon container. This is going to seem silly at first, a teensy seedling in an enormous bucket, but it’ll pay off in the long run. You’ll get significantly more yield, and the plant will be much hardier and require less tending. Frequently, seedlings come in packs of two or three or four. Do not plant these all in the same container. They’ll compete with each other, trying to steal nutrients and water, and you’ll end up with two weak plants instead of one strong one.
[mf_h2 align=”left” transform=”uppercase”]How to Set Up Your Container Like a Pro[/mf_h2]
OK, you’ve got your adequately sized container. You might think there’s not much more to the planting process: just dump in soil, replant your seedling, give it some water, and you’re set. But without the ability for your plant to spread its roots as far as it wants, and with minimal soil to hold nutrients and, especially, water, you can super-charge your container with a few simple tricks. Sheperd recommends the kinds of containers that don’t have drainage holes in them – that would include some containers that are designed to be planters, as well as all-purpose buckets that aren’t.
Then you’ll want to drill a few holes around the sides of the container, a few inches up from the bottom, rather than directly into the bottom. Pour in regular chunky gravel just above the level of the holes, then lay down a layer of weed-block fabric (Sheperd finds that, like duct tape, it’s not much good at doing what its name says it does, but it has other uses), and then your soil on top of that. This makes a reservoir for water to sit in, which means you have to water the plant less often, but the plant will remain well-irrigated throughout the day. The chunky gravel allows for air space, which will be filled by water, and the fabric keeps the soil from dribbling down into those spaces. Presto: a cheap, homemade water reservoir in a pot.
[mf_h2 align=”left” transform=”uppercase”]But What About The Soil?[/mf_h2]
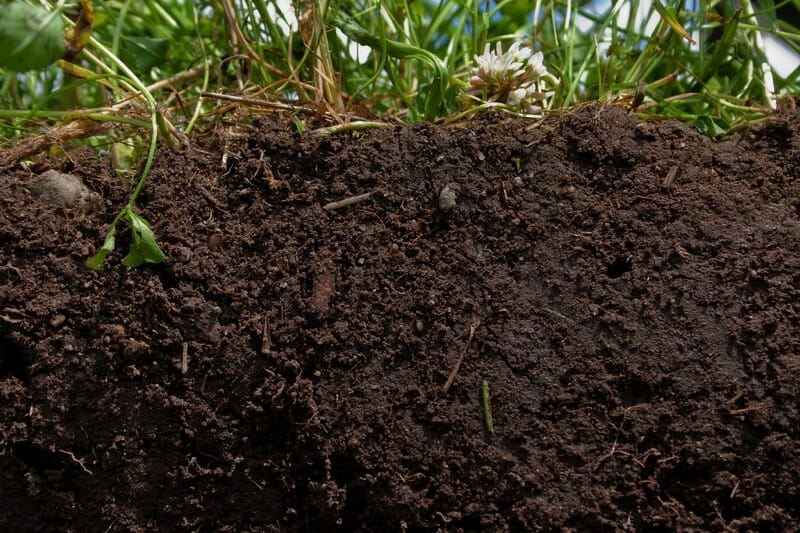
A major tenet of organic farming is to care for the soil, to keep it healthy and alive so it can produce delicious food year after year. But that can be very difficult to do in container gardens. Chances are, you don’t have an easy source of high-quality organic soil, so you have to build that soil ecosystem from scratch. Sheperd advises skipping the non-organic stuff for basic reasons. “Miracle Gro, for example, will work beautifully for a year, but after that the soil will just completely be dead,” she says. Sheperd builds her own soil, a mix of coconut husks and cow manure and all kinds of other things, but you can make your own with more readily available materials.
Go for a good organic soil, and mix with a good organic fertilizer. “Dr. Earth is a good fertilizer brand, they sell stuff like guano fertilizer,” says Sheperd. And make sure to follow the instructions for the amount of fertilizer to add: you might think that adding a little more fertilizer than the package recommends will supercharge your plants, but it’ll have the opposite affect. “Over-fertilization is just as bad as under-fertilizing,” says Sheperd. “I tell people to think of it like salty soup. If you over-fertilize you’re basically creating this salty soil that the plants don’t like.” If you already have your soil, you can mix in some fertilizer and then make sure there’s a layer of soil on top, so the fertilizer doesn’t scorch.
If you want to boost the quality of your soil, looking into local sources of compost, or even buying some worms, which you can, amazingly, do on Amazon, might be a smart idea. This might not be an option if you have limited space, but if you have room for compost with worms in it, you’ll end up with amazingly fertile soil.
[mf_h2 align=”left” transform=”uppercase”]How To Water A Container Plant[/mf_h2]
Never, ever water a plant by drizzling water over the top of the plant. You want to keep the leaves as dry as possible; they can develop mold and other problems if they get and stay wet. Instead, water the plant at soil level. You’ll probably have to water a container garden more often and with more quantity than a regular garden, because the water will evaporate more quickly.
“Irrigation is worth it, if you can,” says Sheperd. “If you have a hose nearby you can put a pretty inexpensive automatic watering system in.” But there are other options as well – you can even make your own from a two-liter soda bottle that you jam into the soil. Not perfect, but we’re not aiming for perfect here, and these systems work (and will let you go out of town for a day or two without all your plants dying).
[mf_h2 align=”left” transform=”uppercase”]Okay, So What Should You Grow?[/mf_h2]
Lots and lots of crops will work fantastically in containers. It’s easier to say what won’t work, or what’s not worth it. “If you’re container gardening, then your limiting fact is definitely space, so I would focus on plants that produce a lot per square foot,” says Sheperd. You’re looking for plants with a continual harvest, meaning plants that produce more than one item per crop. That means probably no root vegetables; carrots, beets, onions and radishes aren’t a great bet, because one seed equals one vegetable, which you can only harvest once per year. Compare that with summer squash, tomatoes, cucumbers, peppers or herbs, which you can pick as needed multiple times per season.
Basil is an ideal starter crop; it’s incredibly easy to grow, can handle either a big or a small pot, can handle imperfect sunlight conditions, and you use hardly any of it at a time (unless you’re making a big batch of pesto).
[mf_h2 align=”left” transform=”uppercase”]What About Climbers?[/mf_h2]
Given that you probably have minimal space, it’s smart to grow vertically, which means you’re looking at tall plants like squash, cucumbers, beans, and tomatoes. But these plans also have special needs: they need something to grab onto (or in the case of tomatoes, something to lean against). Again, Sheperd recommends going industrial rather than picking the stuff that’s marketed for this kind of task. “I think the tendency is to under-trellis; people use a lot of skinny bamboo poles, and the tomato cages you can buy at a store are not big enough for tomatoes. A good healthy tomato plant will just knock that thing right over,” she says.
Instead, look for stuff like cattle fencing and remesh, both of which are kind of like thin chain-link fences, and both of which are designed for other uses entirely. But plants love them, and will crawl up them or rest against them happily and healthily. Plus, they’re really cheap.
[mf_h2 align=”left” transform=”uppercase”]There Won’t Be Pests, Right?[/mf_h2]
Well, no. Sorry. “In starting out Love & Carrots, I was surprised to find [in urban/suburban environments] the same kinds of pests I was seeing in the countryside,” says Sheperd. There’s a pretty fair chance you’ll have to deal with blight, aphids, hornworms or even large critters like pigeons and squirrels.
The big game with small gardens is prevention; by the time a pest has a firm grip on your garden, you may be pretty much out of luck. A thin white sheet draped over plants can help keep bugs out (especially when you’re talking about brassicas, like kale, Brussels sprouts or cabbage, which bugs love). But there are simple organic solutions for bugs that have already arrived, too.
For tomato blight, which is a fungus, try mixing baking soda with water or milk and spraying it on. For aphids, a simple soapy water solution spray will help keep the cellulose-sucking bugs off. Hornworms and other large bugs can simply be picked off with your hands.
Squirrels and pigeons? Those are smarter. The Internet is full of suggestions for spraying with chili oil or garlic, but those need to be reapplied often and don’t always discourage persistent animals. The only surefire way to keep them out, says Sheperd, is a cage made out of something like chicken wire.

[mf_h2 align=”left” transform=”uppercase”]Getting The Most Out Of Your Containers[/mf_h2]
It’s not common knowledge that you can have multiple crops per year in the same container. There’s an easy technique Sheperd recommends called “under-sowing.” Basically, say you’ve got a 5-gallon container in which you’re going to grow tomatoes. That’s a summer crop, which means you’ve got space on either side of the calendar for spring and fall crops. So in the springtime, sow in a bunch of, say, lettuces, in seed. Then around Memorial Day, plant your tomato seedling right in the middle of your lettuces, which by this time should be a few inches tall. Within a couple weeks, the tomato plant will be tall enough to cast shade over the lettuces, but the lettuces are ready to be harvested anyway. So do that! Eat the lettuces, then grow the tomatoes as usual.
Near the end of the tomato growing season, you can do the same thing with fall crops like chard or kale. By this time, your tomato plant is mature, which probably means the lower branches of the plant are kind of brown and dead. No problem! Snap them off and plant the seeds of your fall crop right underneath the tomato plant. As the tomato plant dies, the fall crops will spring up.
Even better, you can do a technique with these greens called “cut and come again.” Sheperd recommends going for baby greens, just like the box you’d buy at Whole Foods, so you’ll harvest the leaves when they’re just a few inches long. But if you cut them off just above the apical meristem – that’s kind of the top of the stem, right before where the leaves branch off – the leaves will grow back, and in three or four weeks you’ll have another harvest of baby greens. Amazing!
Container gardens may be a solution to a lack of space or land, but that doesn’t mean you can’t get amazing stuff out of them. And with these tips, hopefully you can grow like a real farmer – even if it’s out of a pot.
Love & Carrots is a DC-based home gardening company that helps urbanites set up gardens in the strange and difficult spaces.
Images via Flickr users Stacy Spensley, La Citta Vita, Maggie Hoffman, Natural Resources Conservation Service, Daryl Mitchell
I find that container gardening is my new best friend.
No comment at this time.