Cook This: Ferment by Holly Davis
Twice a month, our writer cooks from the book and decides if these farm-to-table recipes are worth the investment.
Cook This: Ferment by Holly Davis
Twice a month, our writer cooks from the book and decides if these farm-to-table recipes are worth the investment.
Cook This: Ferment by Holly Davis
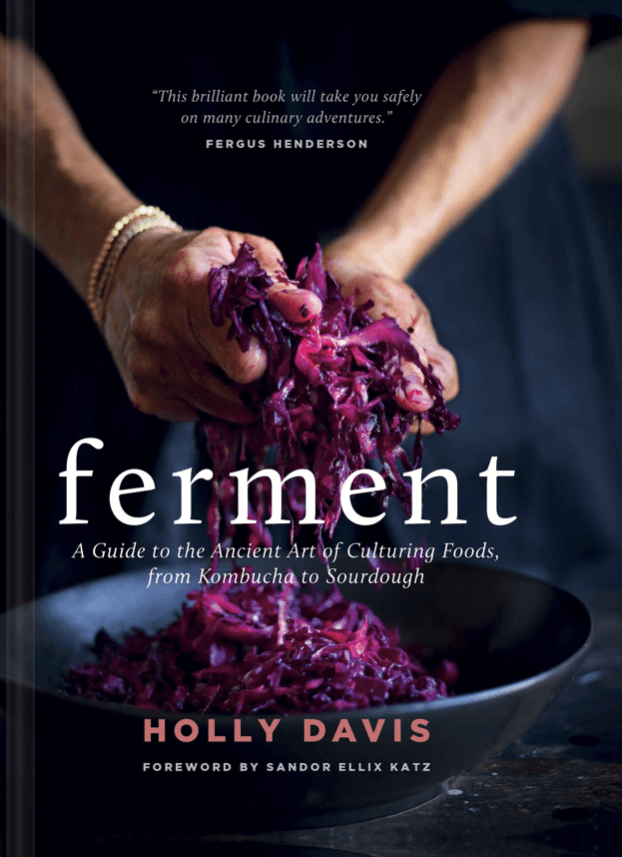
Fermentation is having a moment. Whether you just picked up some artisanal kombucha at the farmers’ market or invested in serious cheese-making equipment, chances are, you’ve been bitten by the probiotic bug. Ferment: A Guide to the Ancient Art of Culturing Foods, from Kombucha to Sourdough (Chronicle Books, $29.95), by Australian fermentation doyen Holly Davis, caters to both ends of the spectrum. While most books on the subject focus on either the molecular-science side of things or the very casual let-Mother-Earth-do-her-thing approach, Ferment occupies a happy middle ground. The book starts with the very basic technique of activating nuts and seeds by soaking and sprouting them and ramps up to culturing liquids naturally, pickling fruits and vegetables, baking leavened breads, curing meats and fish and making cheeses. Each chapter is organized from the most basic recipe to the most advanced version. But this isn’t just a textbook; you’ll find creative, modern recipes that make the most of these techniques. I doubt your grandma’s fermentation repertoire included Herb Booch Vinaigrette or Sweet and Sour Tender Ginger.
We love kimchi in this house, and I’ve made a stock-standard spicy cabbage version. But a mild white version? Never! Crisp White Radish Kimchi mixes a paste made from green onions, ginger, garlic, fish sauce, green apple and Asian pear with daikon radish that has been cubed, salted, pressed for an hour and rinsed. Everything is crammed into a scrupulously clean jar and left to ferment on the counter for at least seven days. The result is funky, crunchy kimchi that could take the place of sour dill pickles.
For anyone with even the slightest interest in culturing food, Ferment is worth the investment. Cautious newbies will appreciate Davis’s thorough explanations and calm, guiding voice, while advanced probiotic enthusiasts will discover new things to ferment and more advanced uses for their skills.
Wendy Underwood tests out cookbooks weekly on Instagram at @kitchenvscookbook.
Excerpted from Ferment by Holly Davis. Recipes Copyright © 2019. Excerpted by permission of Chronicle Books. All rights reserved.
[post_recipes]
Follow us
Republish!
![]()
Republish our articles for free, online or in print, under a Creative Commons license.

This work is licensed under a Creative Commons Attribution-NoDerivatives 4.0 International License.
Want to republish a Modern Farmer story?
We are happy for Modern Farmer stories to be shared, and encourage you to republish our articles for your audience. When doing so, we ask that you follow these guidelines:
Please credit us and our writers
For the author byline, please use “Author Name, Modern Farmer.” At the top of our stories, if on the web, please include this text and link: “This story was originally published by Modern Farmer.”
Please make sure to include a link back to either our home page or the article URL.
At the bottom of the story, please include the following text:
“Modern Farmer is a nonprofit initiative dedicated to raising awareness and catalyzing action at the intersection of food, agriculture, and society. Read more at <link>Modern Farmer</link>.”
Use our widget
We’d like to be able to track our stories, so we ask that if you republish our content, you do so using our widget (located on the left hand side of the article). The HTML code has a built-in tracker that tells us the data and domain where the story was published, as well as view counts.
Check the image requirements
It’s your responsibility to confirm you're licensed to republish images in our articles. Some images, such as those from commercial providers, don't allow their images to be republished without permission or payment. Copyright terms are generally listed in the image caption and attribution. You are welcome to omit our images or substitute with your own. Charts and interactive graphics follow the same rules.
Don’t change too much. Or, ask us first.
Articles must be republished in their entirety. It’s okay to change references to time (“today” to “yesterday”) or location (“Iowa City, IA” to “here”). But please keep everything else the same.
If you feel strongly that a more material edit needs to be made, get in touch with us at [email protected]. We’re happy to discuss it with the original author, but we must have prior approval for changes before publication.
Special cases
Extracts. You may run the first few lines or paragraphs of the article and then say: “Read the full article at Modern Farmer” with a link back to the original article.
Quotes. You may quote authors provided you include a link back to the article URL.
Translations. These require writer approval. To inquire about translation of a Modern Farmer article, contact us at [email protected]
Signed consent / copyright release forms. These are not required, provided you are following these guidelines.
Print. Articles can be republished in print under these same rules, with the exception that you do not need to include the links.
Tag us
When sharing the story on social media, please tag us using the following: - Twitter (@ModFarm) - Facebook (@ModernFarmerMedia) - Instagram (@modfarm)
Use our content respectfully
Modern Farmer is a nonprofit and as such we share our content for free and in good faith in order to reach new audiences. Respectfully,
No selling ads against our stories. It’s okay to put our stories on pages with ads.
Don’t republish our material wholesale, or automatically; you need to select stories to be republished individually.
You have no rights to sell, license, syndicate, or otherwise represent yourself as the authorized owner of our material to any third parties. This means that you cannot actively publish or submit our work for syndication to third party platforms or apps like Apple News or Google News. We understand that publishers cannot fully control when certain third parties automatically summarize or crawl content from publishers’ own sites.
Keep in touch
We want to hear from you if you love Modern Farmer content, have a collaboration idea, or anything else to share. As a nonprofit outlet, we work in service of our community and are always open to comments, feedback, and ideas. Contact us at [email protected].by Wendy Underwood, Modern Farmer
May 16, 2019
Modern Farmer Weekly
Solutions Hub
Innovations, ideas and inspiration. Actionable solutions for a resilient food system.
ExploreShare With Us
We want to hear from Modern Farmer readers who have thoughtful commentary, actionable solutions, or helpful ideas to share.
SubmitNecessary cookies are absolutely essential for the website to function properly. This category only includes cookies that ensures basic functionalities and security features of the website. These cookies do not store any personal information.
Any cookies that may not be particularly necessary for the website to function and are used specifically to collect user personal data via analytics, ads, other embedded contents are termed as non-necessary cookies.