Make Your Own Biochar Using the Cone Pit Method
Hack your way through gardening with this ancient Amazonian soil amendment.
Want to improve your gardening game? Look no further than the age-old invention of biochar. This soil amendment is a fine-grained charcoal mixture, made by burning agricultural and forestry waste at high temperature in the absence or reduction of oxygen.
Biochar has garnered a reputation in the scientific community for replenishing soil nutrients, retaining moisture and increasing plant yield, especially when soaked in a fertilizer or composting substance. Other recent studies have shown that adding a layer to your garden can help reduce greenhouse gas emissions through carbon sequestration. According to the International Biochar Initiative, this is because biochar is a highly porous substance that prevents soil from drying out while increasing its ability to hold on to nutrients, carbon and energy that meet the needs of plants.
It’s been used for thousands of years, too. Even before it was known as biochar, the substance has been used to improve soil health as far back as 8,000 years ago in South America. Amazonians used it to enrich soil in tropical forests to create what are now called the “terra preta” soils of the region.
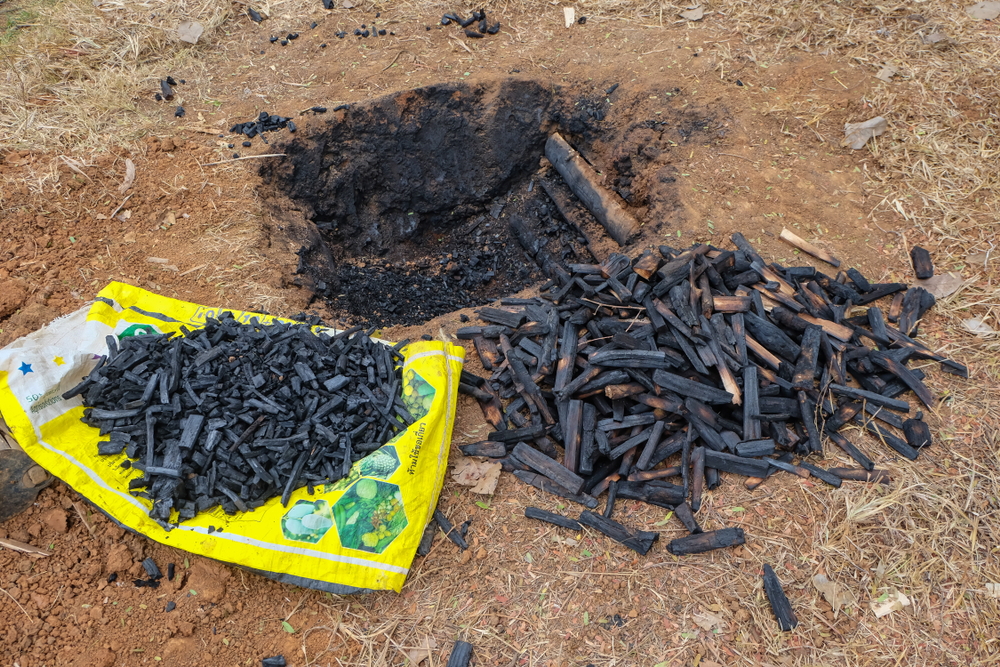
Biochar sounds like a win-win for both your garden and the environment, right? It can also be relatively cheap and fairly straightforward to make your own. To do so, you’ll want to use what’s called the cone pit method. This is one of the easiest and most cost-effective ways to make biochar.
What you need
Shovel
Bucket
Water/water source
Biomass of your choice, such as dried leaves, brush, sticks, weeds, twigs. (You’ll want enough to fill the hole you dig twice)
Matches, a lighter or propane torch
Storage container
Cloth bag (optional)
Hammer or tool for crushing your charcoal
Environment and setup
You want to make biochar on a day without strong wind. You should also make sure there is no existing fire ban in your region. Have several buckets of water or a hose on hand as well to extinguish the fire. You should also have some gloves, safety goggles and protective footwear, especially if you’re worried about sparks flying your way.
Next, dig a cone-shaped trench in your garden or yard. It should measure about 20 inches in diameter and 40 inches (just a little more than three feet) deep—this is a good size for a controlled burn.
Loosen the soil in the bottom of the hole and fill the base of your pit with the biomass of your choice. You should opt for woody materials, but do not use anything that is pressure treated or chemically injected. Make sure your biomass isn’t wet, as it won’t burn well if it is.
Starting and monitoring your fire
Light your fire at the top and watch it burn its way down. This is the part where you really need to monitor it and have new material ready to add to the flame.
Once you start to see ash or embers form, you need to start loading layers of biomass on top of the fire. The rate at which you do so can be gauged by the amount of smoke versus the amount of ash. Mass amounts of smoke means that too much is being put on to the fire too quickly. If ash forms, that means you aren’t putting your biomass on to the fire quickly enough.
As you add layers, make sure you are covering air holes in the fire and evenly placing your biomass over it. This will keep the oxygen at a low level, which prevents full combustion to ensure the full product turns to charcoal and not ash.
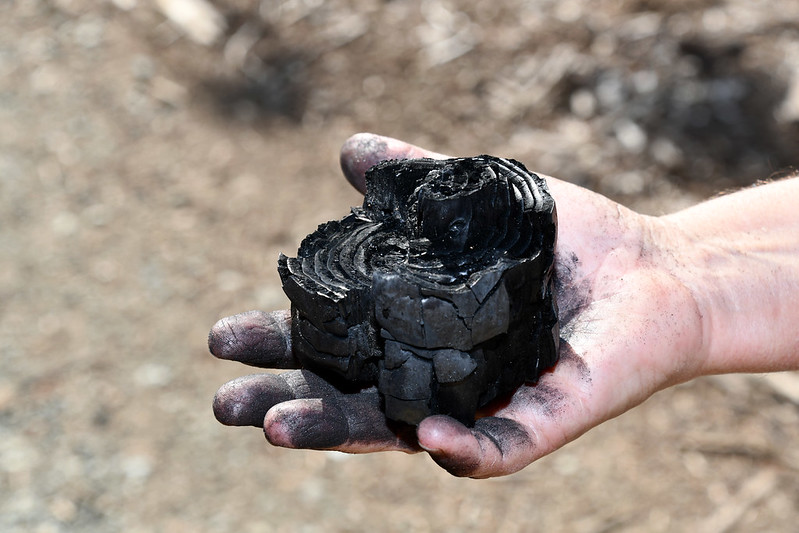
When you’ve reached the point where your pit is full and it looks as though the fire has caught on to every piece of the top layer, you can start dumping buckets of water on it and/or hose it down for several minutes. It should be drenched to ensure there is no more burning. Leave your biochar, which will be blackened like charcoal, to sit overnight.
Crushing and charging with nutrients
Dump your biochar into a container or a bag and use a hammer or a heavy tool such as a rock or brick to crush it into a grainier solution. It’s not absolutely necessary to grind it down into tiny pieces, but doing so will speed up the process of the biochar disintegrating into the soil and make it easier to mix with other substances.
Add to the mixture something nutrient-rich such as compost tea, worm casting, urine, fish emulsion or liquid kelp. Try to use equal parts of biochar with whichever nutrient source you choose. To ensure it’s absorbing the most nutrients as possible, let this sit in a container for several weeks and give it a stir every one to two days. We suggest letting it sit in this container for two weeks at minimum.
To keep bugs out, put a lid on your container or keep it in a sheltered area. If you have it outdoors, you can poke small holes in the top. Alternatively, you can leave a small space between the lid and the container so there’s still some air ventilation.
Applying to soil
There are several ways you can apply the homemade biochar to your soil. One option is using the biochar as mulch around the base of the plants. This will create a slow feed where the biochar integrates into the soil profile over time. You can also work it into the top 4-6 inches of soil to make those nutrients available immediately. Use your hands or a small rake to do so. Happy gardening!

I just finished my second year of making my own biochar. I use a similar method, but have some small suggestions. My pit may be a little deeper. I prep my sticks and cardboard (yes!) ahead, and put them in a “solar kiln” (also known as my winter lean-to green house) for a few weeks (this has the added advantage of inspiring me to set up my “greenhouse” before the first freeze). Having the material very dry helps it burn at a higher temperature. I so agree with monitoring it! Getting down the knack of keeping it hot, not feeding… Read more »
This system for making charcoal seems difficult. We use 45gal steel barrels to ‘burn’ in and grind/inoculate with a small cement mixer.
Very interesting did not know about this
Chonco
It is interesting and farmer friendly to know about the biochar process.
That isn’t the way forward, the heat transfer will damage the soil around your pit. Visit Whittlewoodconcept.com for alternative, safer and beneficial solutions.