How to Make Fresh Sea Salt
Headed to the beach this summer? Bring home a shakerful of seaside terroir with these easy steps for DIY salt.
How to Make Fresh Sea Salt
Headed to the beach this summer? Bring home a shakerful of seaside terroir with these easy steps for DIY salt.
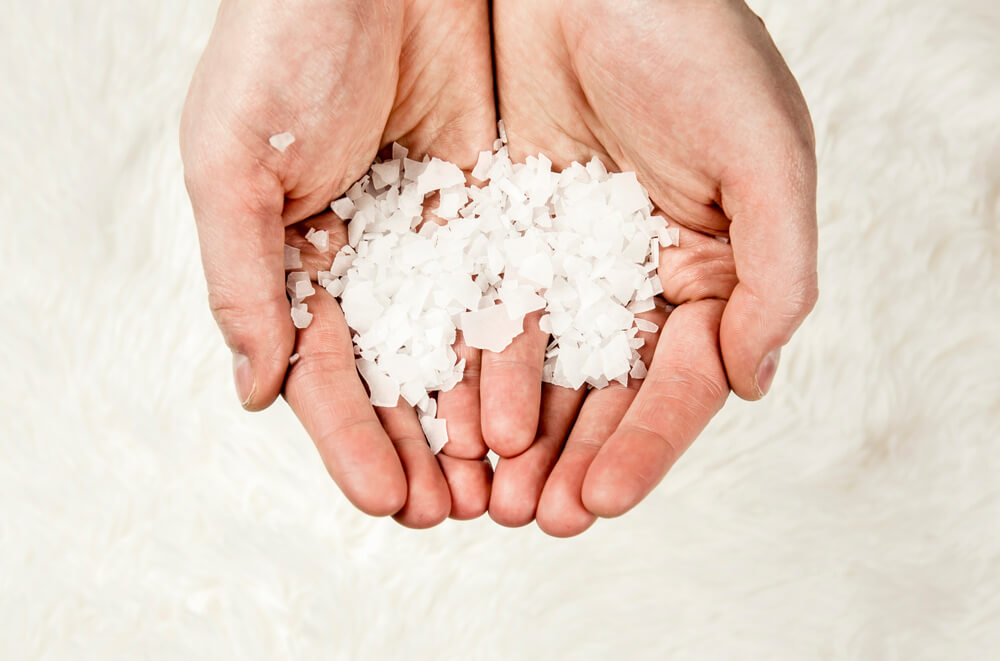
For a fun summertime project, you can make your own sea salt. It takes some time (days, actually), but then you’ll be able to tell dinner guests that you made your own salt. (Worth it.)FotoHelin/Shutterstock
Whether you’re traipsing through the sand in Maui, Mallorca or Maine, every ocean environment has its own flavor, the essence of which can be distilled, quite literally, in salt. The salt in seawater is flavored by the unique mixture of marine creatures, aquatic plant life and geology present, with further nuances from seasonal and climatic forces. Bringing those flavors home to the dinner table is surprisingly simple.
Where to Collect Seawater
It may seem obvious, but don’t attempt to harvest salt from waters near sewage plants, nuclear reactors and industrial zones. Urban salt is probably not the terroir you’re after. Instead, gather it from pristine regions where the water is clear. Likewise, to avoid excess sand, sunscreen residue and various unseemly things that end up in the water at popular beaches, wade out as far from shore as you comfortably can to collect the water (better yet, collect it from a boat).
From the Ocean to the Kitchen
One gallon of water yields anywhere from half a cup to a full cup of salt, depending on its salinity. Almost any container will do, including plastic jugs, glass bottles and coolers. Once you have the water, let it sit undisturbed for several days in a cool place so that any sand or sediment present floats to the bottom. You can skip this step by filtering the water through several layers of cheesecloth, but you’ll lose some of the salt that way.
Extracting Salt
The next step is to heat the water on the stove to let it evaporate slowly (a large canning pot is ideal for this purpose). To avoid disturbing the sediment at the bottom, use a plastic tube to siphon the water into the pot and leave an inch of water. Heat on low, making sure that the water stays below the boiling point. Depending on the quantity of water, it may take several hours or even days until it cooks down into a salty slurry. To avoid burning, remove from heat when there’s only an inch of water remaining in the pot.
Final Steps
If you have a sunny place that’s free of insects (say, a big picture window or screened-in porch), distribute the salty slurry in shallow baking tins to allow the remaining water to evaporate. Alternatively, put the baking tins in the oven on the lowest setting. For the purest flavor, evaporate the last bit of moisture without direct heat by hanging the salt in a cloth bag for a few days. Grind as desired.
Follow us
Republish!
![]()
Republish our articles for free, online or in print, under a Creative Commons license.

This work is licensed under a Creative Commons Attribution-NoDerivatives 4.0 International License.
Want to republish a Modern Farmer story?
We are happy for Modern Farmer stories to be shared, and encourage you to republish our articles for your audience. When doing so, we ask that you follow these guidelines:
Please credit us and our writers
For the author byline, please use “Author Name, Modern Farmer.” At the top of our stories, if on the web, please include this text and link: “This story was originally published by Modern Farmer.”
Please make sure to include a link back to either our home page or the article URL.
At the bottom of the story, please include the following text:
“Modern Farmer is a nonprofit initiative dedicated to raising awareness and catalyzing action at the intersection of food, agriculture, and society. Read more at <link>Modern Farmer</link>.”
Use our widget
We’d like to be able to track our stories, so we ask that if you republish our content, you do so using our widget (located on the left hand side of the article). The HTML code has a built-in tracker that tells us the data and domain where the story was published, as well as view counts.
Check the image requirements
It’s your responsibility to confirm you're licensed to republish images in our articles. Some images, such as those from commercial providers, don't allow their images to be republished without permission or payment. Copyright terms are generally listed in the image caption and attribution. You are welcome to omit our images or substitute with your own. Charts and interactive graphics follow the same rules.
Don’t change too much. Or, ask us first.
Articles must be republished in their entirety. It’s okay to change references to time (“today” to “yesterday”) or location (“Iowa City, IA” to “here”). But please keep everything else the same.
If you feel strongly that a more material edit needs to be made, get in touch with us at [email protected]. We’re happy to discuss it with the original author, but we must have prior approval for changes before publication.
Special cases
Extracts. You may run the first few lines or paragraphs of the article and then say: “Read the full article at Modern Farmer” with a link back to the original article.
Quotes. You may quote authors provided you include a link back to the article URL.
Translations. These require writer approval. To inquire about translation of a Modern Farmer article, contact us at [email protected]
Signed consent / copyright release forms. These are not required, provided you are following these guidelines.
Print. Articles can be republished in print under these same rules, with the exception that you do not need to include the links.
Tag us
When sharing the story on social media, please tag us using the following: - Twitter (@ModFarm) - Facebook (@ModernFarmerMedia) - Instagram (@modfarm)
Use our content respectfully
Modern Farmer is a nonprofit and as such we share our content for free and in good faith in order to reach new audiences. Respectfully,
No selling ads against our stories. It’s okay to put our stories on pages with ads.
Don’t republish our material wholesale, or automatically; you need to select stories to be republished individually.
You have no rights to sell, license, syndicate, or otherwise represent yourself as the authorized owner of our material to any third parties. This means that you cannot actively publish or submit our work for syndication to third party platforms or apps like Apple News or Google News. We understand that publishers cannot fully control when certain third parties automatically summarize or crawl content from publishers’ own sites.
Keep in touch
We want to hear from you if you love Modern Farmer content, have a collaboration idea, or anything else to share. As a nonprofit outlet, we work in service of our community and are always open to comments, feedback, and ideas. Contact us at [email protected].by Brian Barth, Modern Farmer
July 29, 2019
Modern Farmer Weekly
Solutions Hub
Innovations, ideas and inspiration. Actionable solutions for a resilient food system.
ExploreShare With Us
We want to hear from Modern Farmer readers who have thoughtful commentary, actionable solutions, or helpful ideas to share.
SubmitNecessary cookies are absolutely essential for the website to function properly. This category only includes cookies that ensures basic functionalities and security features of the website. These cookies do not store any personal information.
Any cookies that may not be particularly necessary for the website to function and are used specifically to collect user personal data via analytics, ads, other embedded contents are termed as non-necessary cookies.
Working on my first batch! Curious, why do we not want to reach the boiling point? I had planned to just boil it down!
Iam begginer in thise business of production salt pleas ineed your assistance
Won’t the salt slurry react with baking tins?
This is so cool!! It actually makes the salt edible! I brought this to the dinner table and everyone asked me where I bought this salt. Oh boy I never told them!
Kindly change ‘any sand or sediment present floats to the bottom.’ to read: ‘any sand or sediment sinks to the bottom.’