How to Can Legumes
A preserving expert offers a guide to pressure canning beans, peas, lentils and more.
How to Can Legumes
A preserving expert offers a guide to pressure canning beans, peas, lentils and more.

Angi Schneider is on a mission to teach everyone how to pressure can their garden harvest.by Dennis Burnett.
The following excerpt is from Angi Schneider’s new book Pressure Canning for Beginners and Beyond (Page Street Publishing, October 2021) and is reprinted with permission from the publisher.
To Soak or Not to Soak?
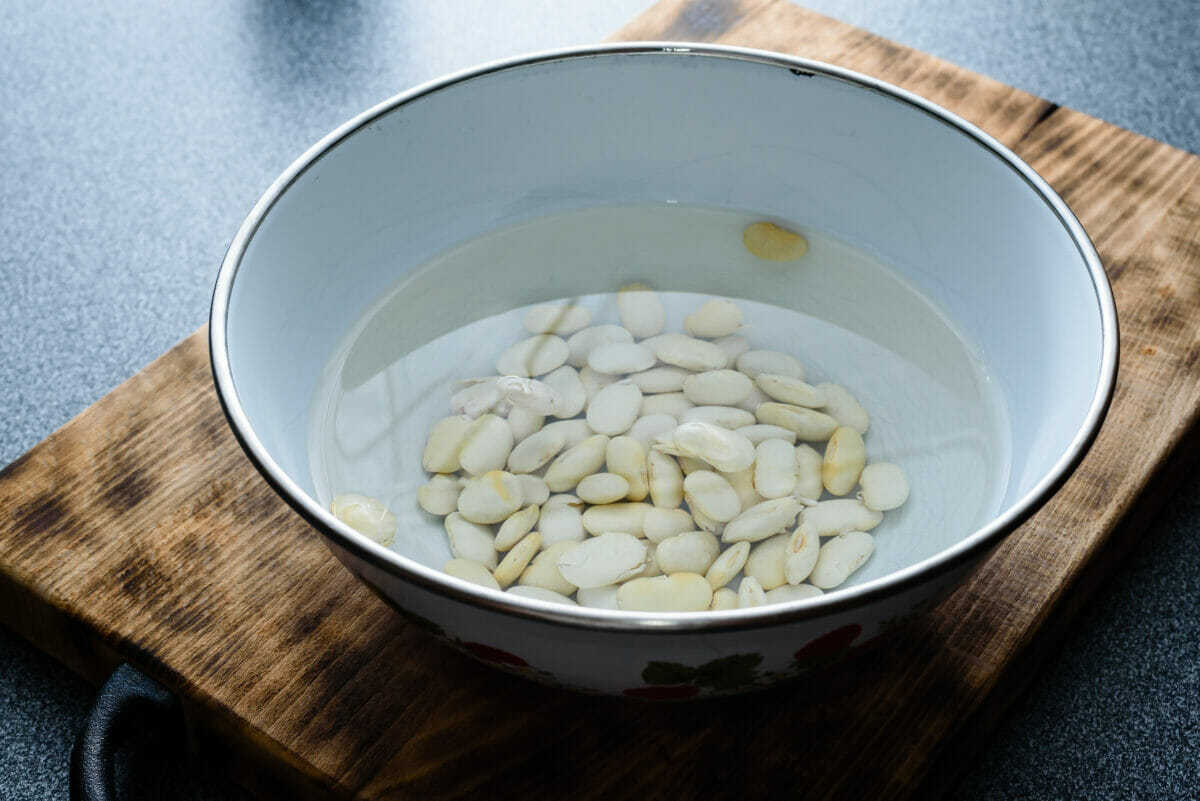
There are two main things you need to know about canning legumes. The first is that they’re only safe to can in a pressure canner (not a water bath canner) since they’re low-acid foods. And second, dry beans and peas need to be rehydrated by soaking in water before they’re packed into jars. Lentils don’t need to be presoaked. Peanuts will need to be soaked, but the process is a little different.
I know you can find recipes on the Internet that don’t include soaking the beans or peas, but they’re not approved methods. When you don’t presoak the dried beans and peas, you run the risk of them soaking up all the water and becoming a big clump of beans. There’s no way to tell if the heat penetrates the center of the clump to make them shelf stable. The beans and peas can also swell so much that they break the jar. There’s nothing more depressing than opening up the canner and finding broken jars.
There are two ways to soak beans: the overnight method and the quick-soak method. For both methods, you need to wash the beans or peas and remove any small pebbles that might be mixed in with them.
For the overnight method: Put the cleaned beans in a large bowl or stockpot and add 10 cups (2.4 L) of water per 1 pound (454 g) of beans or peas. Cover the bowl or pot and put it in the refrigerator for at least 8 hours and up to 24 hours.
For the quick-soak method: Put the cleaned beans in a large stockpot and add 10 cups (2.4 L) of water per one pound (454 g) of beans or peas. Bring the water to a boil over medium-high heat. Boil for 2 minutes then remove from the heat. Let the beans soak for 1 hour.

I prefer to use the overnight method for soaking legumes as I think there is less issue with the legumes splitting and the skins coming off. I also think it’s more hands-off than the quick-soak method; however, if I’ve forgotten to soak the legumes the night before, I’ll happily use the quick-soak method so that I can get the canning done that I’d planned for that day.
Every once in a while, someone will ask me about canning sprouted legumes, ones that have been soaked long enough that they start to germinate. The official answer is that there are no approved guidelines or processing times for canning sprouted legumes. In my opinion, the extra nutrition that’s gained by soaking legumes would be destroyed by the high heat of the pressure canner. Also, the enzymes that cause digestibility issues are water soluble, which means they’ll leach out during they soak and that water will be discarded.
If you’re extra sensitive to the digestive effects of legumes, use the overnight soak method and change the water several times.
How to Can Legumes
Once the beans have been cleaned and soaked, they’re ready for canning. To keep things simple, I’m going to just use beans as the example, but know that peas and lentils are canned the exact same way. The instructions below are an overview on canning legumes.
On average, 1 pound (454 g) of dried beans will give you about 7 cups (1.2 kg) of cooked beans. This is a very rough estimate and the actual amount will depend on the size and shape of the bean. You’ll need three or four 1-pint (500-ml) jars or two 1-quart (1-L) jars to pressure can a pound of dried beans. This should help you estimate how many jars you need to prepare.
Pour off the water that the beans were soaking in and give the beans a quick rinse with fresh water. Drain again. Put the beans into a large stockpot and cove with fresh water. Heat the beans over medium-high heat and gently boil for 30 minutes. The beans will not be fully cooked by the time they’re done boiling; they’ll finish cooking in the jars while being processed.
While the beans are boiling, prepare the pressure canner, jars and lids. Wash the inside of the pressure canner and the rack with hot, soapy water. Place the rack in the pressure canner and fill it with a few inches (8 cm) of water, according to the manufacturer’s instructions. Place the canner on the stovetop and heat the water over medium heat.
Wash the lids in hot, soapy water and set aside. Check the instructions on the box of lids; some manufacturers (Bernardin®) recommend that the lids be placed in boiled water to keep them hot and some manufacturers recommend that the lids simply be washed (Ball®).
When the beans are finished boiling, it’s time to remove the hot jars from the canner and pour out any water that is in the jars. Don’t dry the jars; the water remnants will evaporate quickly.
Turn the heat off from under the beans and ladle them into the jars, leaving a generous 1 inch (2.5 cm) of headspace. Don’t discard the water the beans cooked in, as that will become the broth to fill the jars with. I like to use a slotted spoon and evenly distribute all the beans between the jars before adding the broth; this way I don’t end up with a jar with very little beans in the end.
You can add ½ teaspoon of non-iodized salt per 1-pint (500-ml) jar and 1 teaspoon of non-iodized salt per 1-quart (1-L) jar and any dried herbs at this point, if desired.
When the beans are distributed, ladle the bean broth into each jar, leaving 1 inch (2.5 cm) of headspace. Using a bubble remover tool remove the air bubbles from the jars. Recheck the headspace, adding more broth if necessary. If you run out of broth, top the jars off with boiling water.
Wipe the rims with a clean, damp cloth and add the lids and bands. Tighten the bands to finger-tight, like you would a mayonnaise jar. Place the jars in the prepared pressure canner and lock the lid in place. Process the jars at 10 psi (69 kPa) for 75 minutes for 1-pint (500-ml) jars and 90 minutes for 1-quart(1-L) jars, adjusting for altitude if necessary.

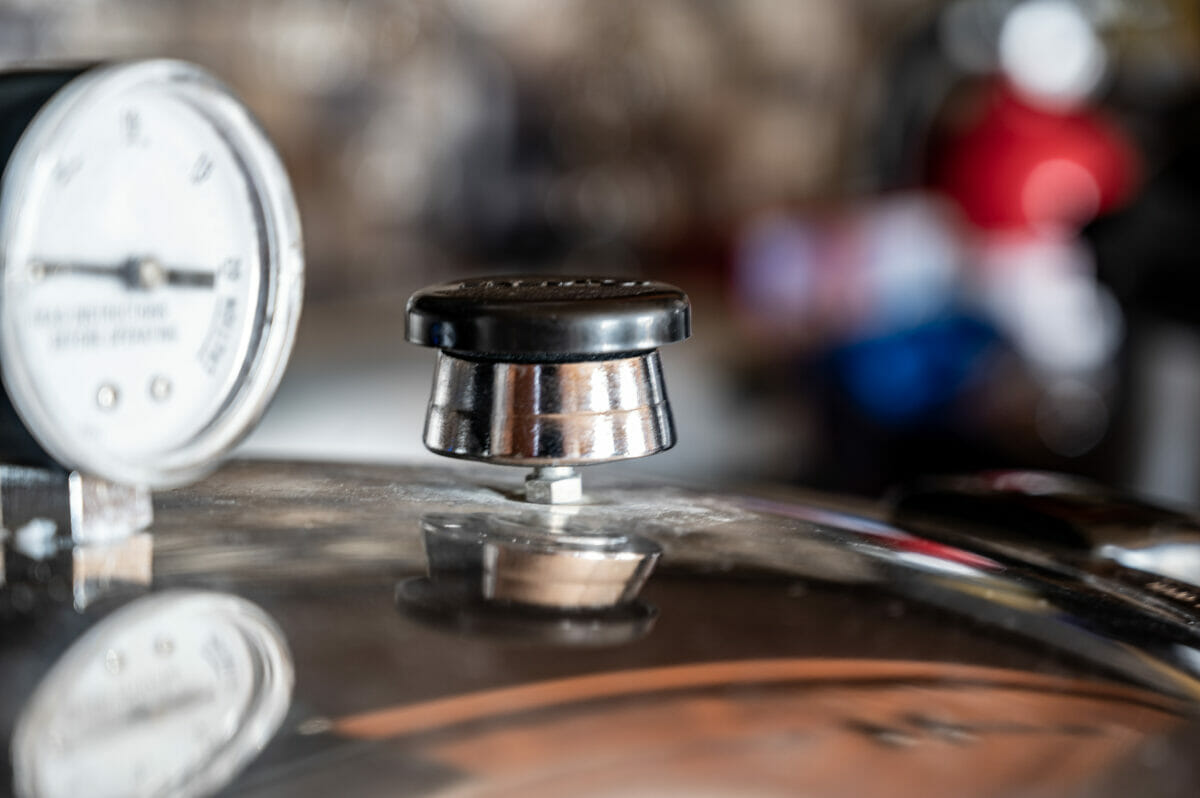
Be sure to let the canner vent for 10 minutes and fully come up to the correct pressure before you start timing.
When the beans are finished processing, turn off the heat and allow the canner to naturally depressurize. This will take 30 to 60 minutes. Refer to the instructions that came with your canner.
Once the pressure canner has depressurized, lay a clean kitchen towel on the counter to set the jars on. Remove the weight from the vent opening or open the petcock and let the canner sit for 10 minutes before opening the lid. This keeps the liquid in the jars from surging and the lids from being compromised.
When you remove the canner lid, open it away from your face to avoid the blast of steam. Let the jars sit in the canner for another 5 minutes before removing them.
Using a jar lifter, remove the jars from the canner and place them on the prepared towel to cool. Leave at least 1 inch (2.5 cm) of space between the jars. Let them cool for 12 to 24 hours and then check the seals. If everything has sealed, the jars are ready to be stored away. Use home-canned legumes within one year. If any jars failed to seal, put them in the refrigerator to use within a week.
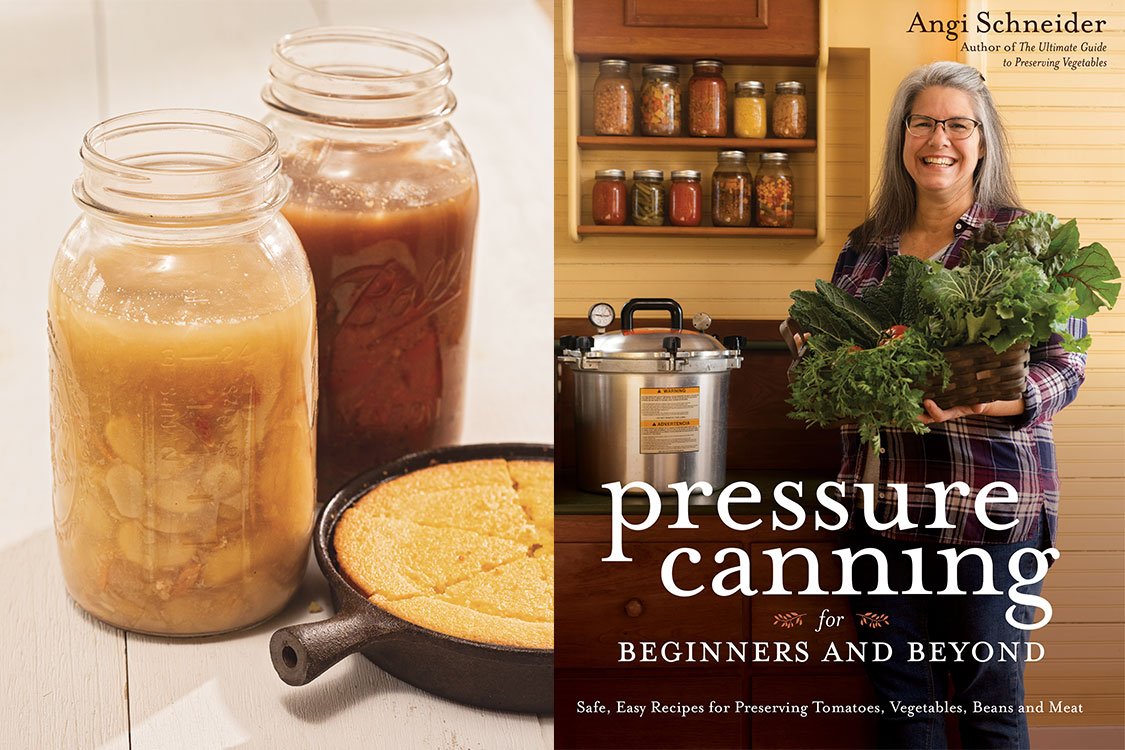
Butter Beans and Ham
In the South, mature white lima beans are often called “butter beans.” Creamy butter beans and ham are a classic Southern comfort food. And if you want creamy butter beans, you have to cook them long and slow and stir them often…or you can just pressure can them. These can be served as a side dish or as the main dish by serving them with a pan of corn bread.
Yields 14 (1-Pint [500-ml]) or 7 (1-Quart [1-L]) Jars
Ingredients:
2 lbs (907 g) dried mature lima beans (aka butter beans), presoaked*
8 cups (1.9 L) water
1 lb (454 g) diced ham
2 cups (320 g) chopped onions**
7 bay leaves
*The beans need to be soaked using the overnight or quick-soak method before beginning this recipe.
**You’ll need approximately 3/4pound (340 g) unprepared onions.
Instructions:
Prepare the pressure canner, jars and lids. You’ll need 14 (1-pint[500-ml]) or 7 (1-quart [1-L]) jars. Fill the canner with a few inches(8 cm) of water, according to the manufacturer’s instructions, and put the canner on the stove over low heat with the jars inside to stay hot.This is a hot-pack recipe, so the water needs to be about 180°F (82°C).
Drain the water from the soaking beans and put the beans into the stockpot with 8 cups (1.9 L) of fresh water. Bring to a boil over high heat, then reduce the heat to a gentle boil. Boil for 30 minutes.
The beans will not be fully cooked by the time they’re done boiling; they’ll finish cooking in the jars while being processed.
Remove the beans from the heat, and using a slotted spoon, put them into the prepared jars. Divide the ham and onions between the jars. Add1/2bay leaf to each 1-pint (500-ml) jar and 1 bay leaf to each1-quart (1-L) jar.
Fill each jar with the water used for cooking the beans, leaving 1 inch(2.5 cm) of headspace. Remove the bubbles with a bubble removal tool and recheck the headspace. If you end up short of broth, top the jars off with boiling water. Wipe the rims with a clean, damp cloth. Put the lids and bands on the jars and load them into the pressure canner.
Process the jars, according to the manufacturer’s instructions, at 10 psi(69 kPa) for 75 minutes for 1-pint (500-ml) jars and 90 minutes for1-quart (1-L) jars, adjusting for altitude if necessary.
After processing, allow the canner to depressurize naturally, then remove the jars and let them cool on the counter for at least 12 hours. Check the seals and store the jars for up to 1 year.
For serving, empty a jar of Butter Beans and Ham into a medium stock pot and heat over medium heat for 10 minutes, or until the liquid is bubbling and the beans are heated thoroughly, stirring frequently.Remove the bay leaf before serving. Serve with a side of corn bread or biscuits.
Follow us
This work is licensed under a Creative Commons Attribution-NoDerivatives 4.0 International License.
Want to republish a Modern Farmer story?
We are happy for Modern Farmer stories to be shared, and encourage you to republish our articles for your audience. When doing so, we ask that you follow these guidelines:
Please credit us and our writers
For the author byline, please use “Author Name, Modern Farmer.” At the top of our stories, if on the web, please include this text and link: “This story was originally published by Modern Farmer.”
Please make sure to include a link back to either our home page or the article URL.
At the bottom of the story, please include the following text:
“Modern Farmer is a nonprofit initiative dedicated to raising awareness and catalyzing action at the intersection of food, agriculture, and society. Read more at <link>Modern Farmer</link>.”
Use our widget
We’d like to be able to track our stories, so we ask that if you republish our content, you do so using our widget (located on the left hand side of the article). The HTML code has a built-in tracker that tells us the data and domain where the story was published, as well as view counts.
Check the image requirements
It’s your responsibility to confirm you're licensed to republish images in our articles. Some images, such as those from commercial providers, don't allow their images to be republished without permission or payment. Copyright terms are generally listed in the image caption and attribution. You are welcome to omit our images or substitute with your own. Charts and interactive graphics follow the same rules.
Don’t change too much. Or, ask us first.
Articles must be republished in their entirety. It’s okay to change references to time (“today” to “yesterday”) or location (“Iowa City, IA” to “here”). But please keep everything else the same.
If you feel strongly that a more material edit needs to be made, get in touch with us at [email protected]. We’re happy to discuss it with the original author, but we must have prior approval for changes before publication.
Special cases
Extracts. You may run the first few lines or paragraphs of the article and then say: “Read the full article at Modern Farmer” with a link back to the original article.
Quotes. You may quote authors provided you include a link back to the article URL.
Translations. These require writer approval. To inquire about translation of a Modern Farmer article, contact us at [email protected]
Signed consent / copyright release forms. These are not required, provided you are following these guidelines.
Print. Articles can be republished in print under these same rules, with the exception that you do not need to include the links.
Tag us
When sharing the story on social media, please tag us using the following: - Twitter (@ModFarm) - Facebook (@ModernFarmerMedia) - Instagram (@modfarm)
Use our content respectfully
Modern Farmer is a nonprofit and as such we share our content for free and in good faith in order to reach new audiences. Respectfully,
No selling ads against our stories. It’s okay to put our stories on pages with ads.
Don’t republish our material wholesale, or automatically; you need to select stories to be republished individually.
You have no rights to sell, license, syndicate, or otherwise represent yourself as the authorized owner of our material to any third parties. This means that you cannot actively publish or submit our work for syndication to third party platforms or apps like Apple News or Google News. We understand that publishers cannot fully control when certain third parties automatically summarize or crawl content from publishers’ own sites.
Keep in touch
We want to hear from you if you love Modern Farmer content, have a collaboration idea, or anything else to share. As a nonprofit outlet, we work in service of our community and are always open to comments, feedback, and ideas. Contact us at [email protected].by Angi Schneider, Modern Farmer
October 5, 2021
Modern Farmer Weekly
Solutions Hub
Innovations, ideas and inspiration. Actionable solutions for a resilient food system.
ExploreExplore other topics
Share With Us
We want to hear from Modern Farmer readers who have thoughtful commentary, actionable solutions, or helpful ideas to share.
SubmitNecessary cookies are absolutely essential for the website to function properly. This category only includes cookies that ensures basic functionalities and security features of the website. These cookies do not store any personal information.
Any cookies that may not be particularly necessary for the website to function and are used specifically to collect user personal data via analytics, ads, other embedded contents are termed as non-necessary cookies.
Thank you for the recipes. I have a problem. I have canned the beans as you said. I did the quick soak method. Unfortunately I had two size jars. 500 mls and 1 ltr jars. I pressure canned the jars for 75 minutes instead of 90 minutes. I canned them last week. Can I canned them again this time for 90 minutes?