In Situ Worm Composting
A Million Gardens Movement guide.
I first learned about ‘in situ’ worm communities several years ago in fruit orchards. Farmers were using a combination of in-orchard and in-ground vermiculture (cultivating/farming of worms) and vermicomposting (utilizing worms to break down compost, usually for castings fertilizer) and to manage orchard waste and fertilize fruit trees with worm castings (poop) and broken down organics.
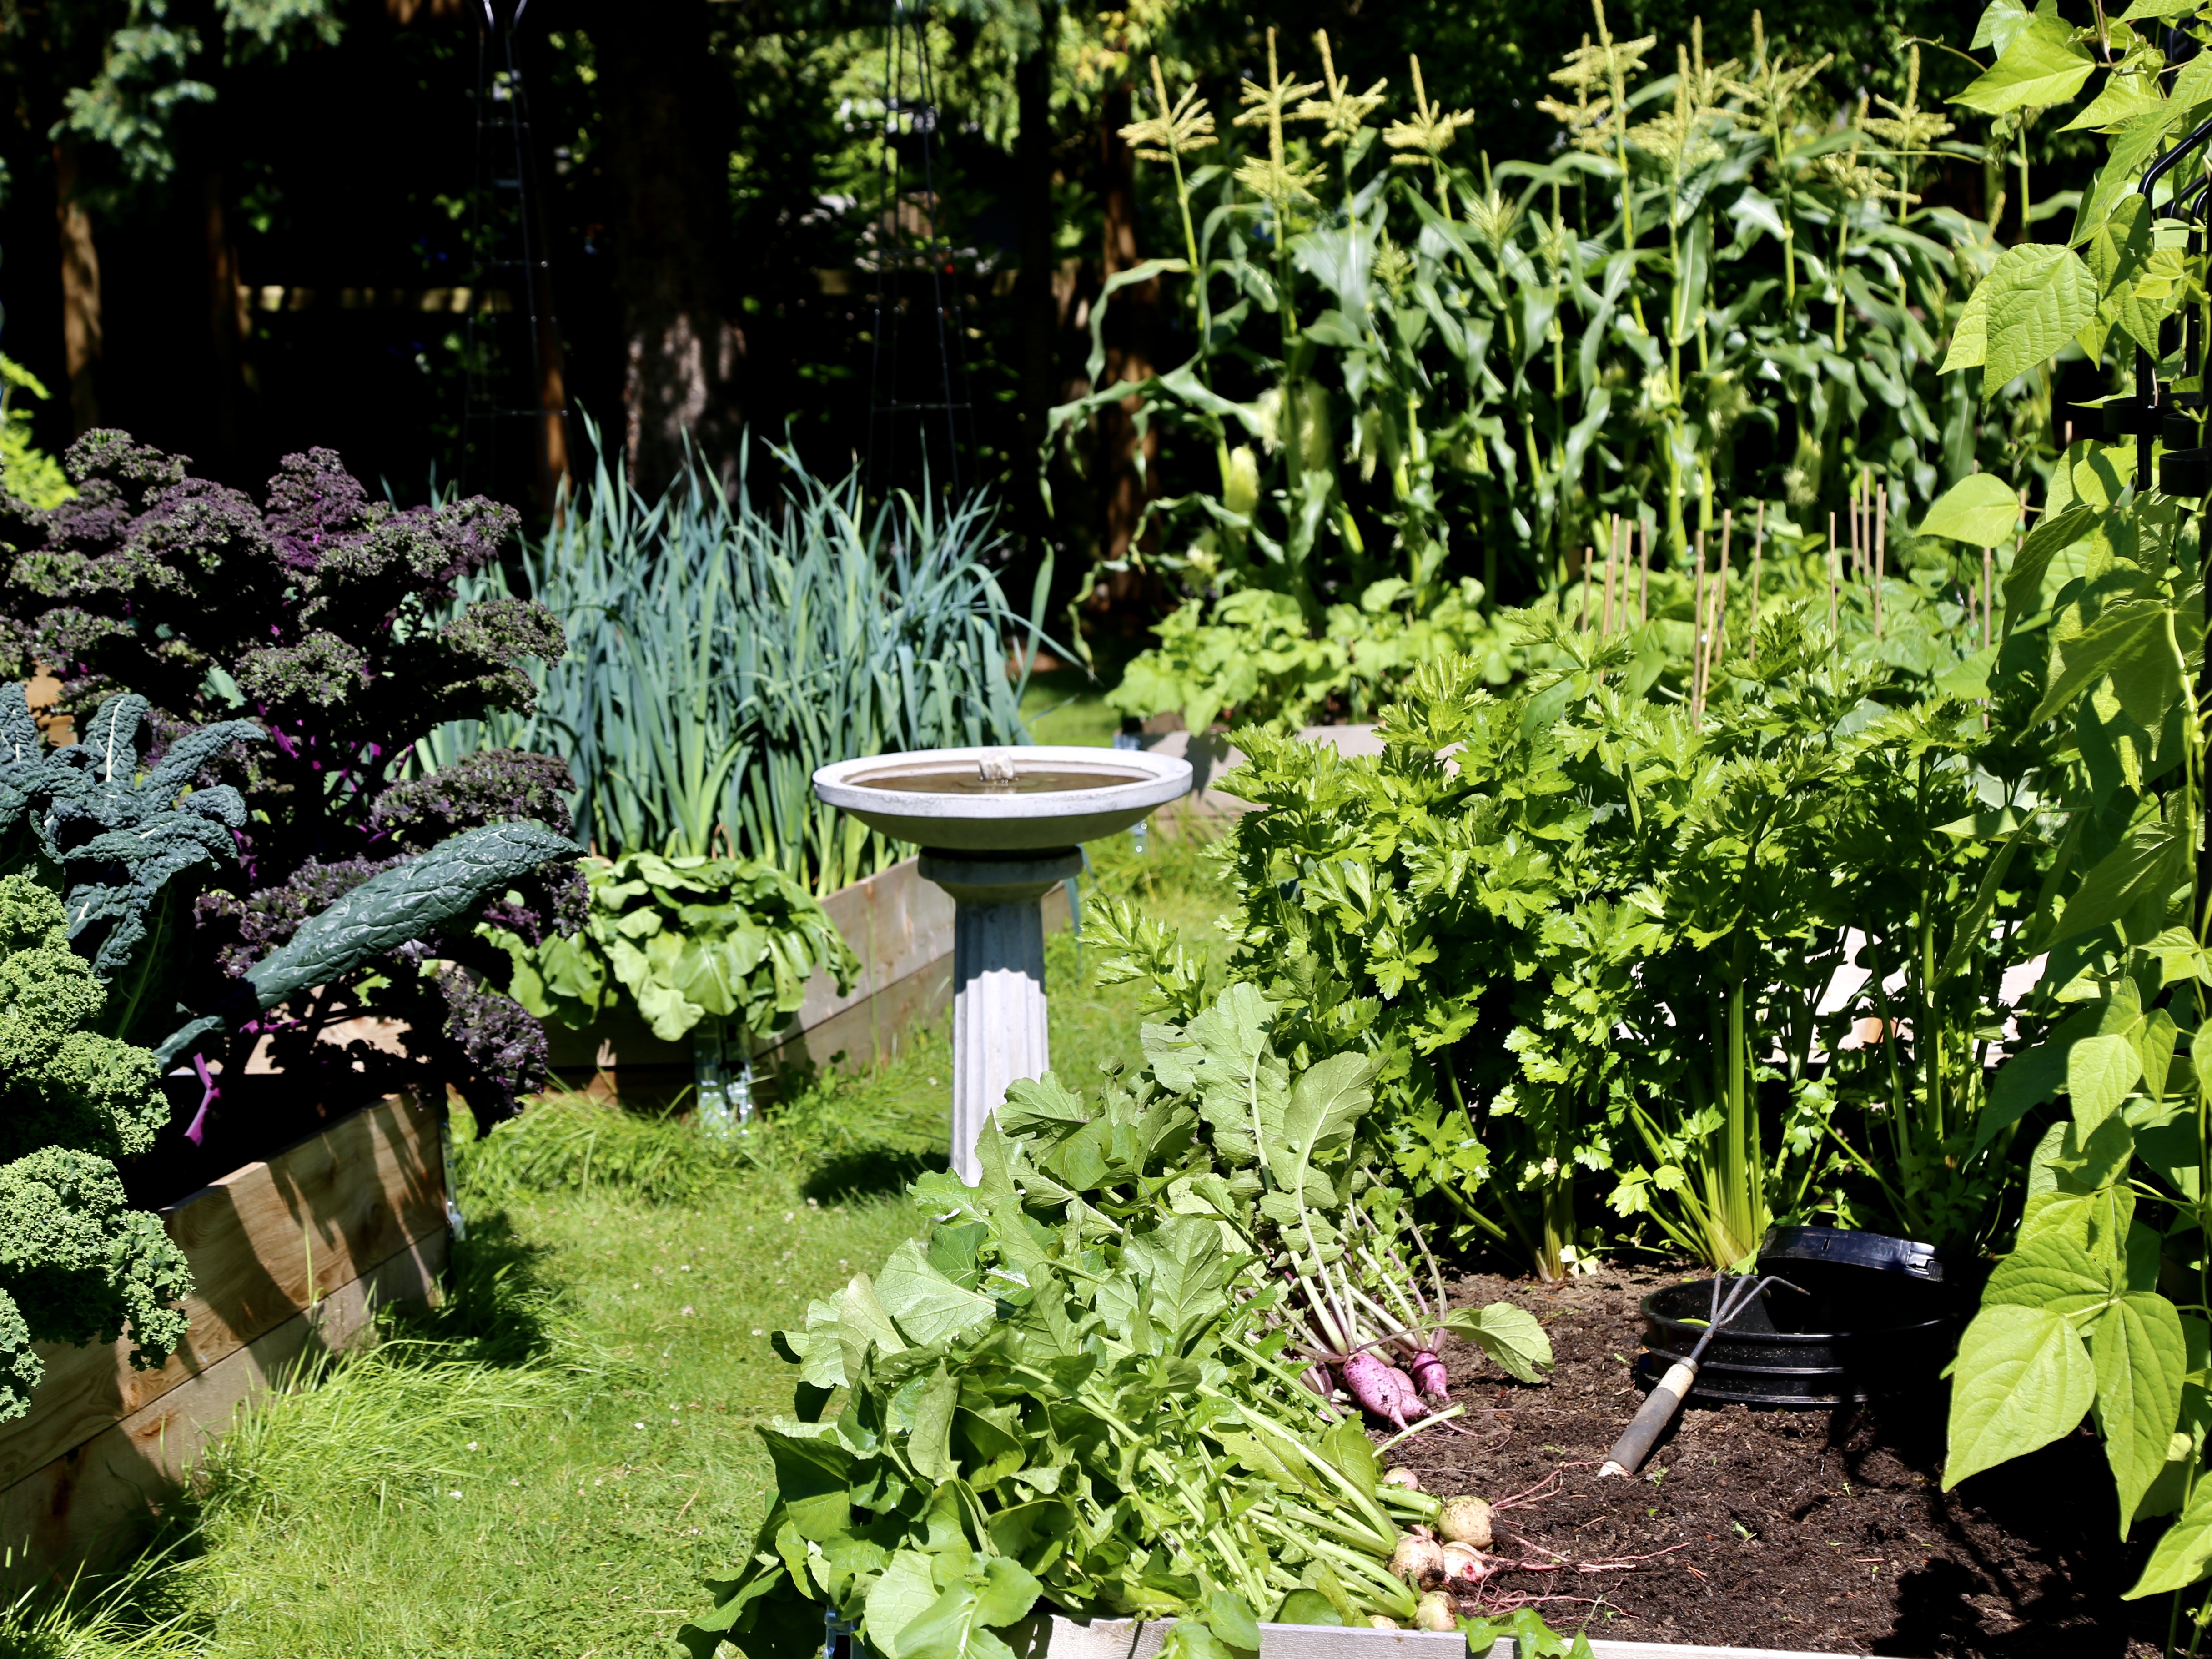
The idea of in-situ worm composting is completely adaptable and portable, and I’ve since incorporated an abbreviated form of it into many raised and ground-level beds in our urban permaculture garden. As in all aspects of ‘urban’ or ‘suburban’ permaculture, it is necessary to bend, re-imagine or adapt fundamental permaculture ideals around an existing and most-often non-ideal, or at least non-conforming situation.
In many neighborhoods and most residential buildings, composting is either not permitted under community or strata regulations, or is simply cause for neighborhood revolt. In such situations, vermicomposting, in particular in-ground vermi-composting can save the day. Worm composts, when managed properly are neither smelly or offensive, and they shouldn’t attract the attention of unwanted pests.
I am not referring to the stand-alone, above ground worm composts that one can buy at garden centres and online, or the sort one can make from a lidded Rubbermaid container, though those are magnificent options for people without any outdoor space at all. Rather, I am referring to the creation and management of small below-ground worm communities that live in your garden bed or large container even, providing:
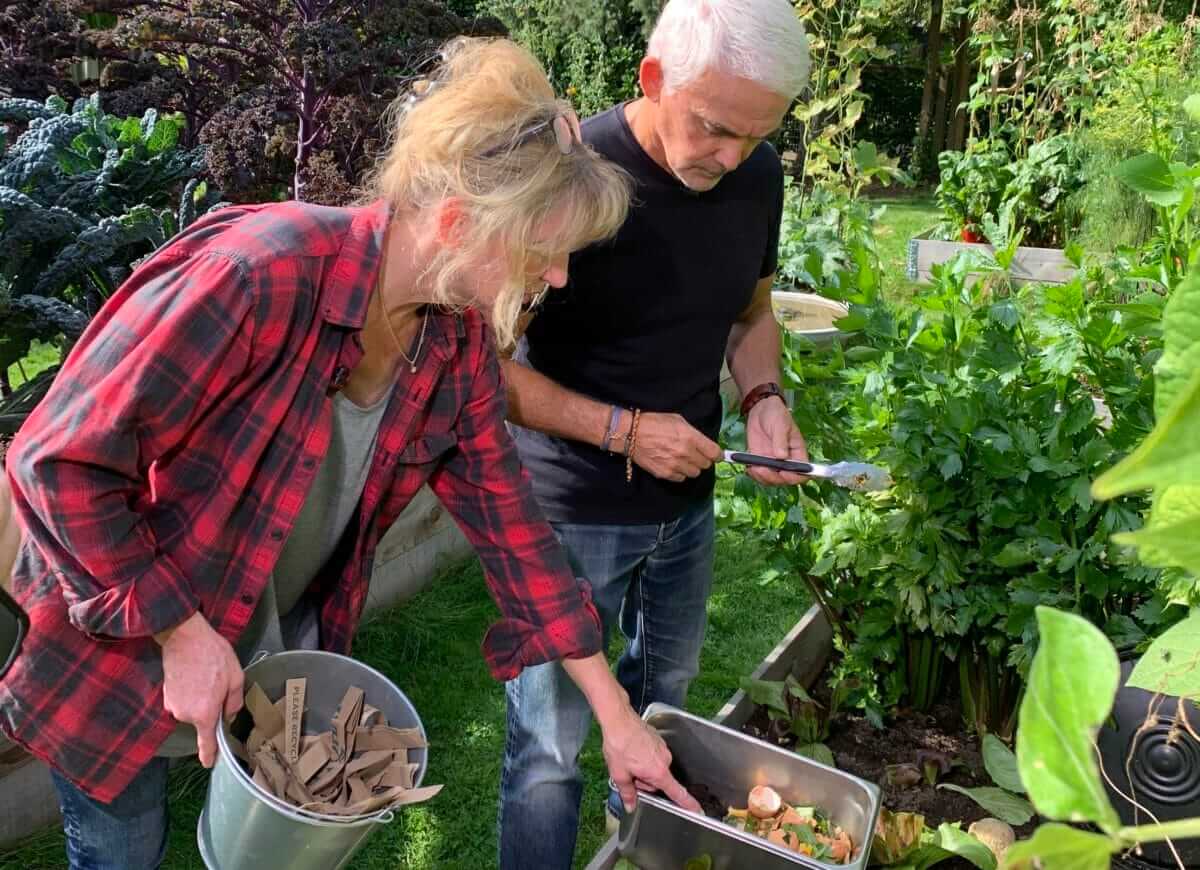
When people visit my garden, the in-situ composts, the herb spiral, and the mini fruit orchard are the most popular features, but it is the in-ground composts hidden among the growing things that inspire immediate action frequently, to some degree. This of course makes me very happy, because the primary reason for my mid-life left turn into (urban) permaculture design was to inspire others to take action and make small changes. In situ vermicomposting is easy to get started. You will need:
Compost worms are available at many garden centres and online from vermiculturists. Many communities that have recycling programs also offer compost worms and compost bins (not the in-ground sort), for sale. Certainly local garden clubs would know sources, or refer you to someone who does.
In-site worm composts are small, typically one to 10 gallons in volume, which is very small compared to standard open composts. For that reason, I have one in-situ compost in each raised bed in the garden, plus a few in ground-level beds.
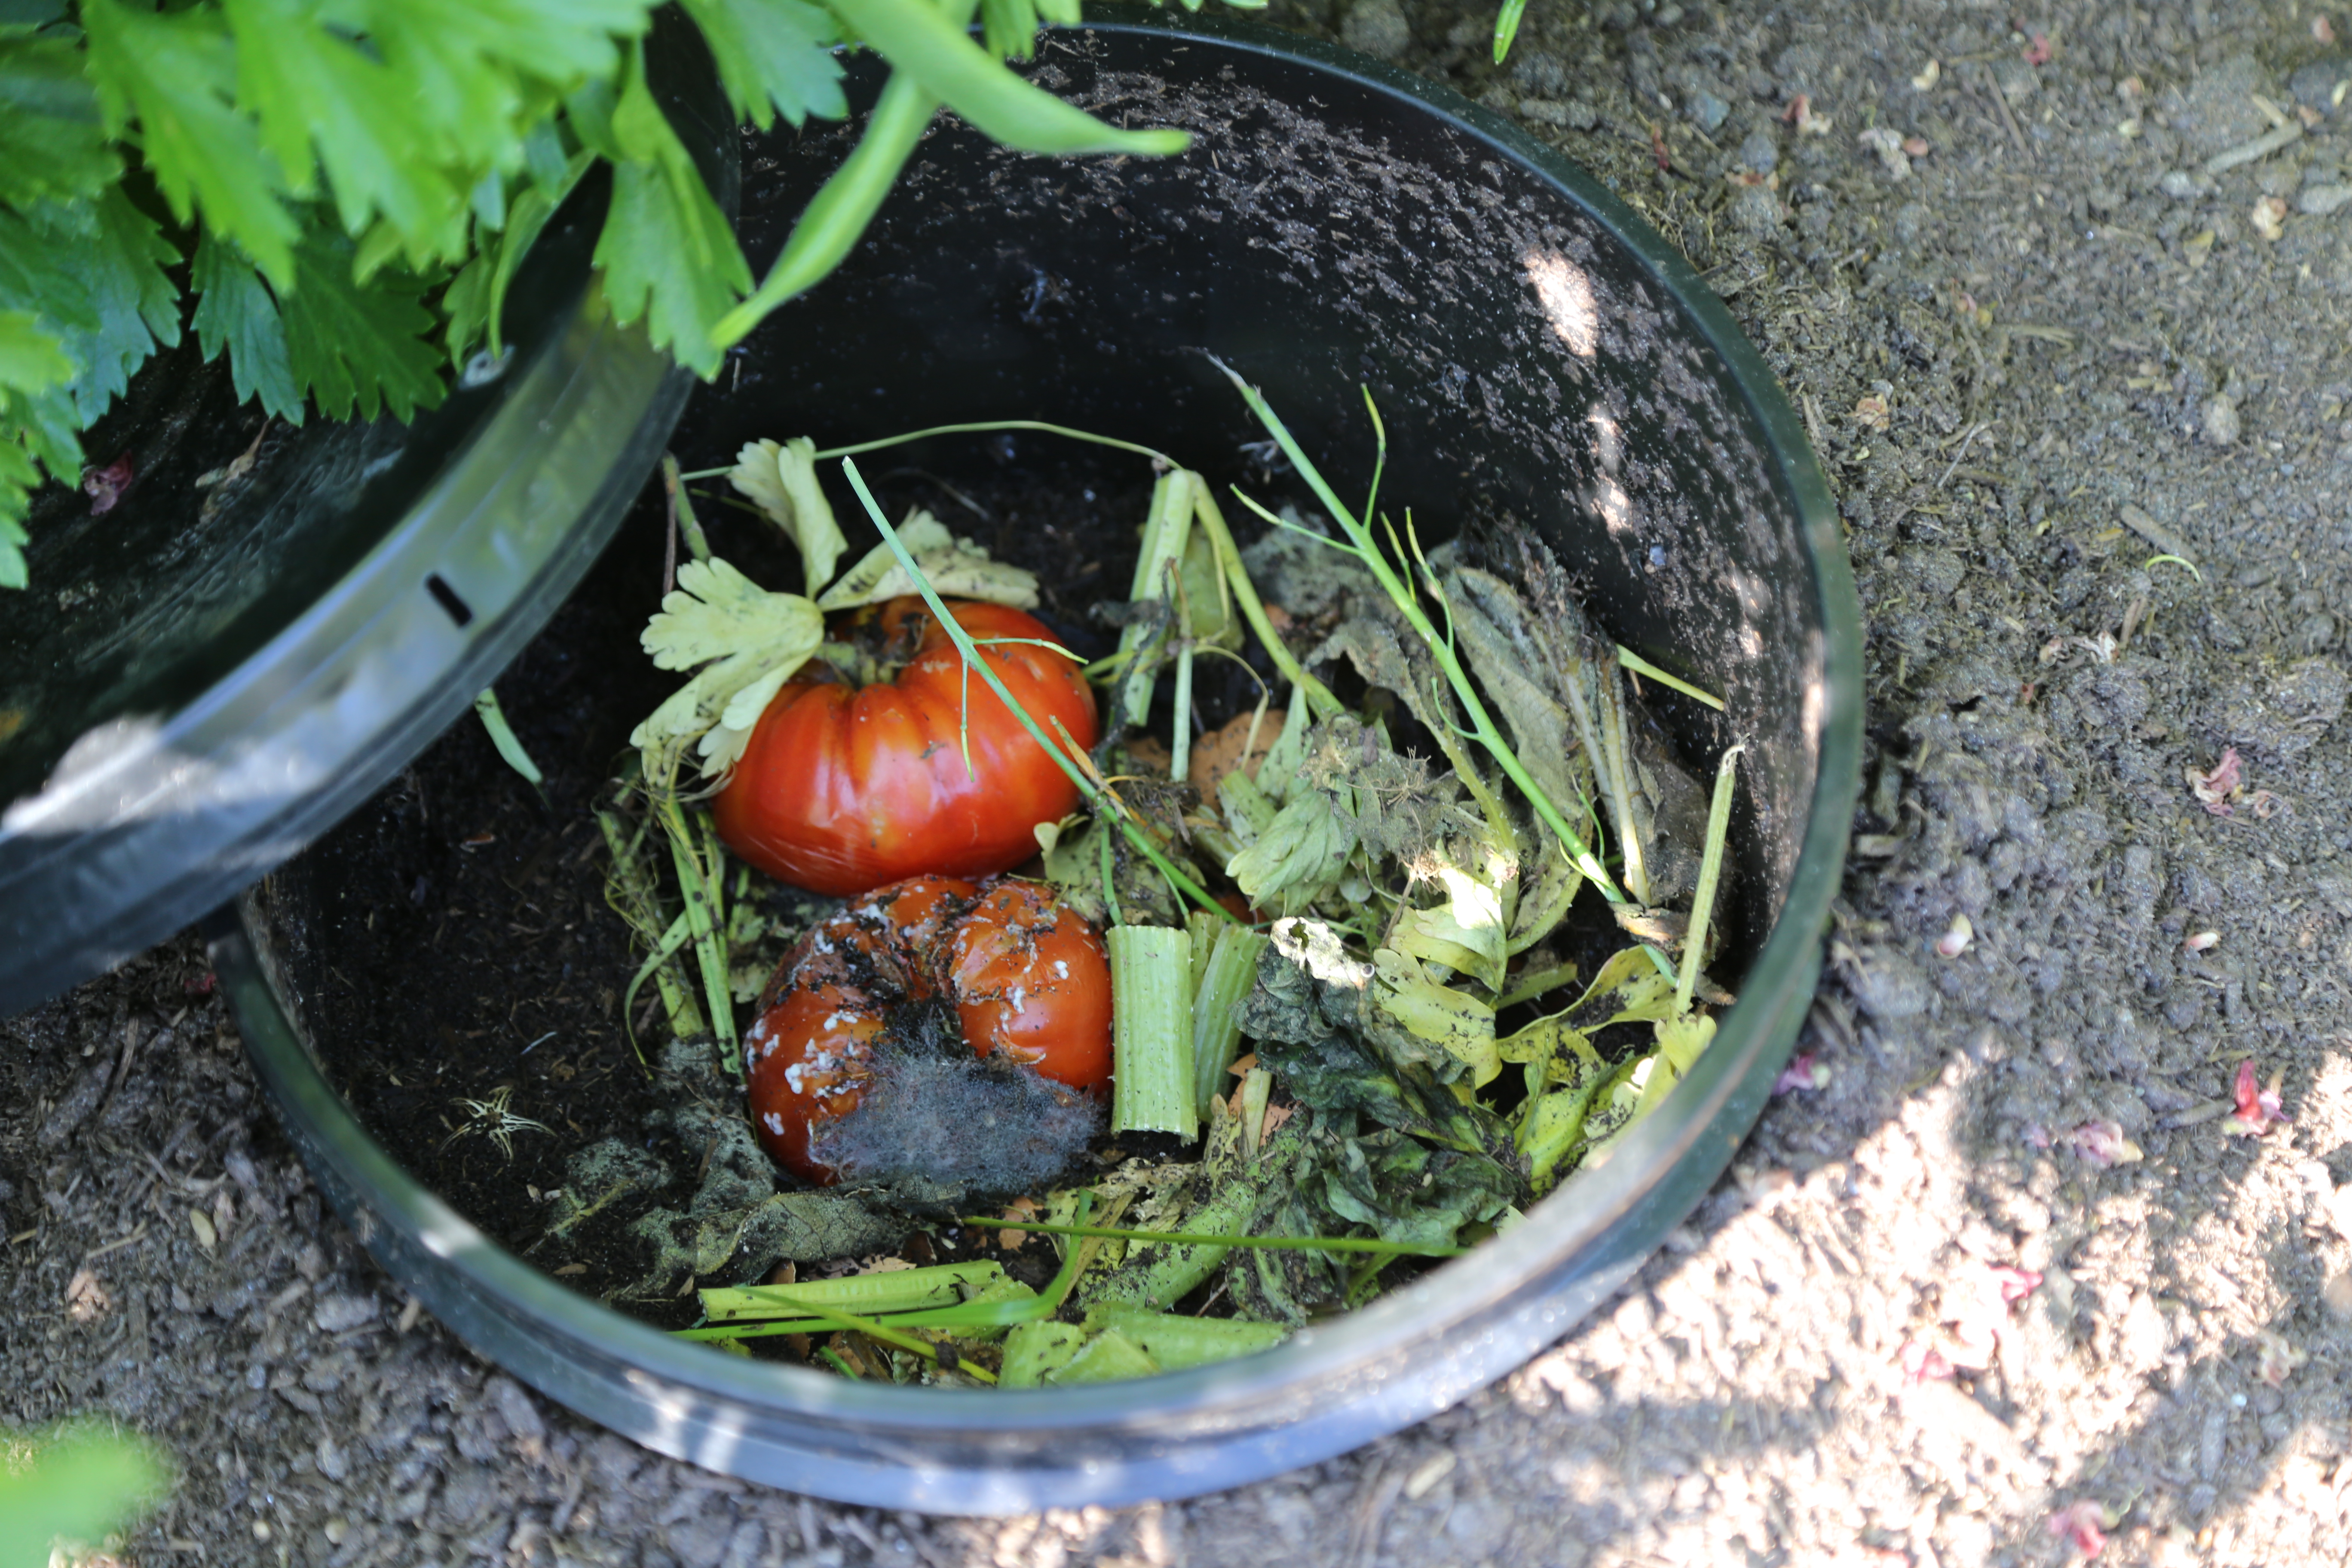
Each compost is drilled with about 100 1/4″ holes spaced evenly along all vertical sides to within no less than 2″ of the top lid ridge, and is sunk up to lid level in soil. Keeping the holes well below soil level, and the lid firmly in-place but not snapped shut, keeps contents from attracting wildlife, and odours inside where they belong.
I don’t have issues with stinkiness, at least nothing worse than what a pile of old grass would offer (and then only when the compost lid is off), but I am also careful to compost only raw greens and other organics.

Compost worms surface quickly to investigate the addition of partially decomposed brown paper pot pieces
Fill your worm compost only with:
I never add meat, dairy, oils, cooked vegetables (unless only lightly steamed), bones, citrus, onion or garlic or their skins, hard leaves, branch bits, or hard organics of any kind. Conventional wisdom says that compost worms don’t like alliums like cooking onions and garlic, so I don’t add them to my composts. Having said that, the worm composts in my beds containing leeks, onions and garlic are very active, and all areas within the beds themselves are impressively wormy, so I suppose my guys are fine with alliums. I haven’t run out of non-alium compost feed and am happy to divert my onion and garlic skin to the regular yard trimmings bag, but if I couldn’t do either of those things, I would experiment with small amount of garlic and onion and see what happens.
The point of all of this is poop, worm poop, or castings as they are known. Worm poop is gold, and worm poop tea is liquid gold. By incorporating worm composts in situ, we create an instant and constant supply of both. Since I use only organic compost as a planting medium in my beds, and my ground-level beds are blessed by well-aerated humusy soil, the exchange of materials into and out of the compost is easy and the worms do their own housekeeping simply by eating, pooping and wandering around. Uncomplicated transit in and out keeps the level of compost to a more-or-less constant and manageable level as the compost breaks down and the liquid and small particles move out into the bed soil, aided by the worms and insects that come and go. The worms deposit poop in their homes and also throughout the beds as they wander around garden partying here and there. If I had hard soil or plenty of clay in the soil, I would expect to have to empty the compost on occasion, or otherwise manage the quantity of inputs.
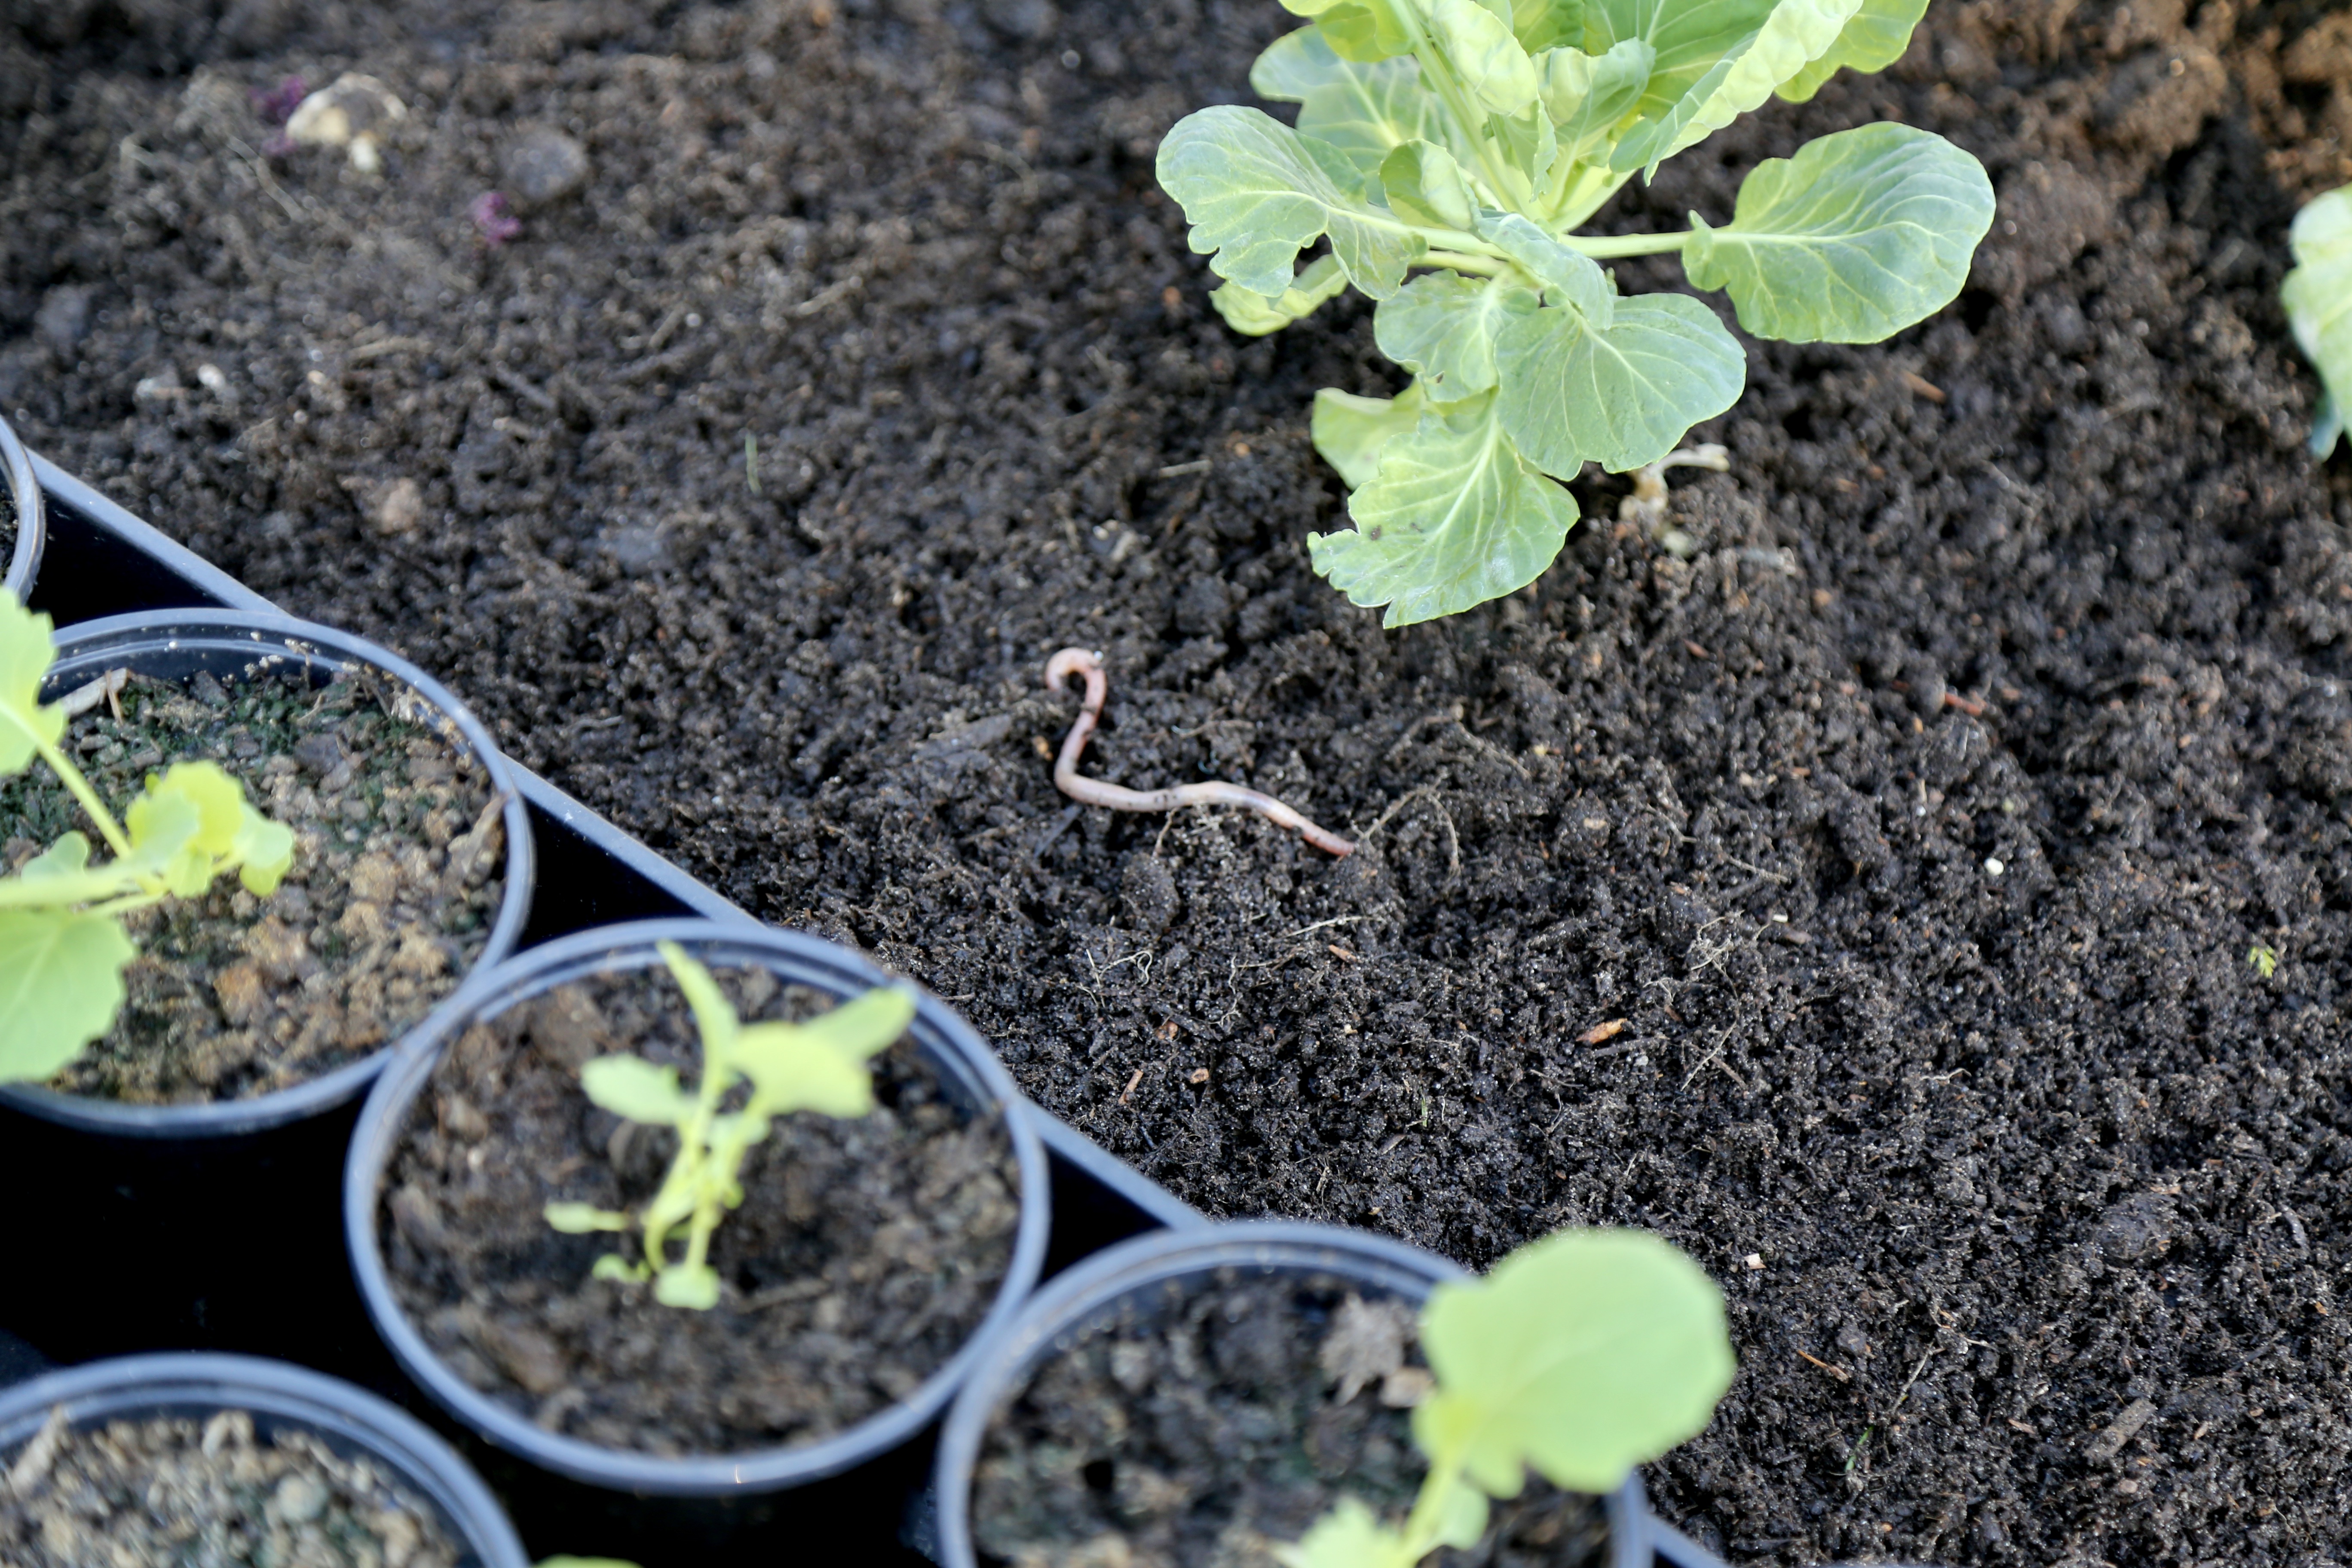
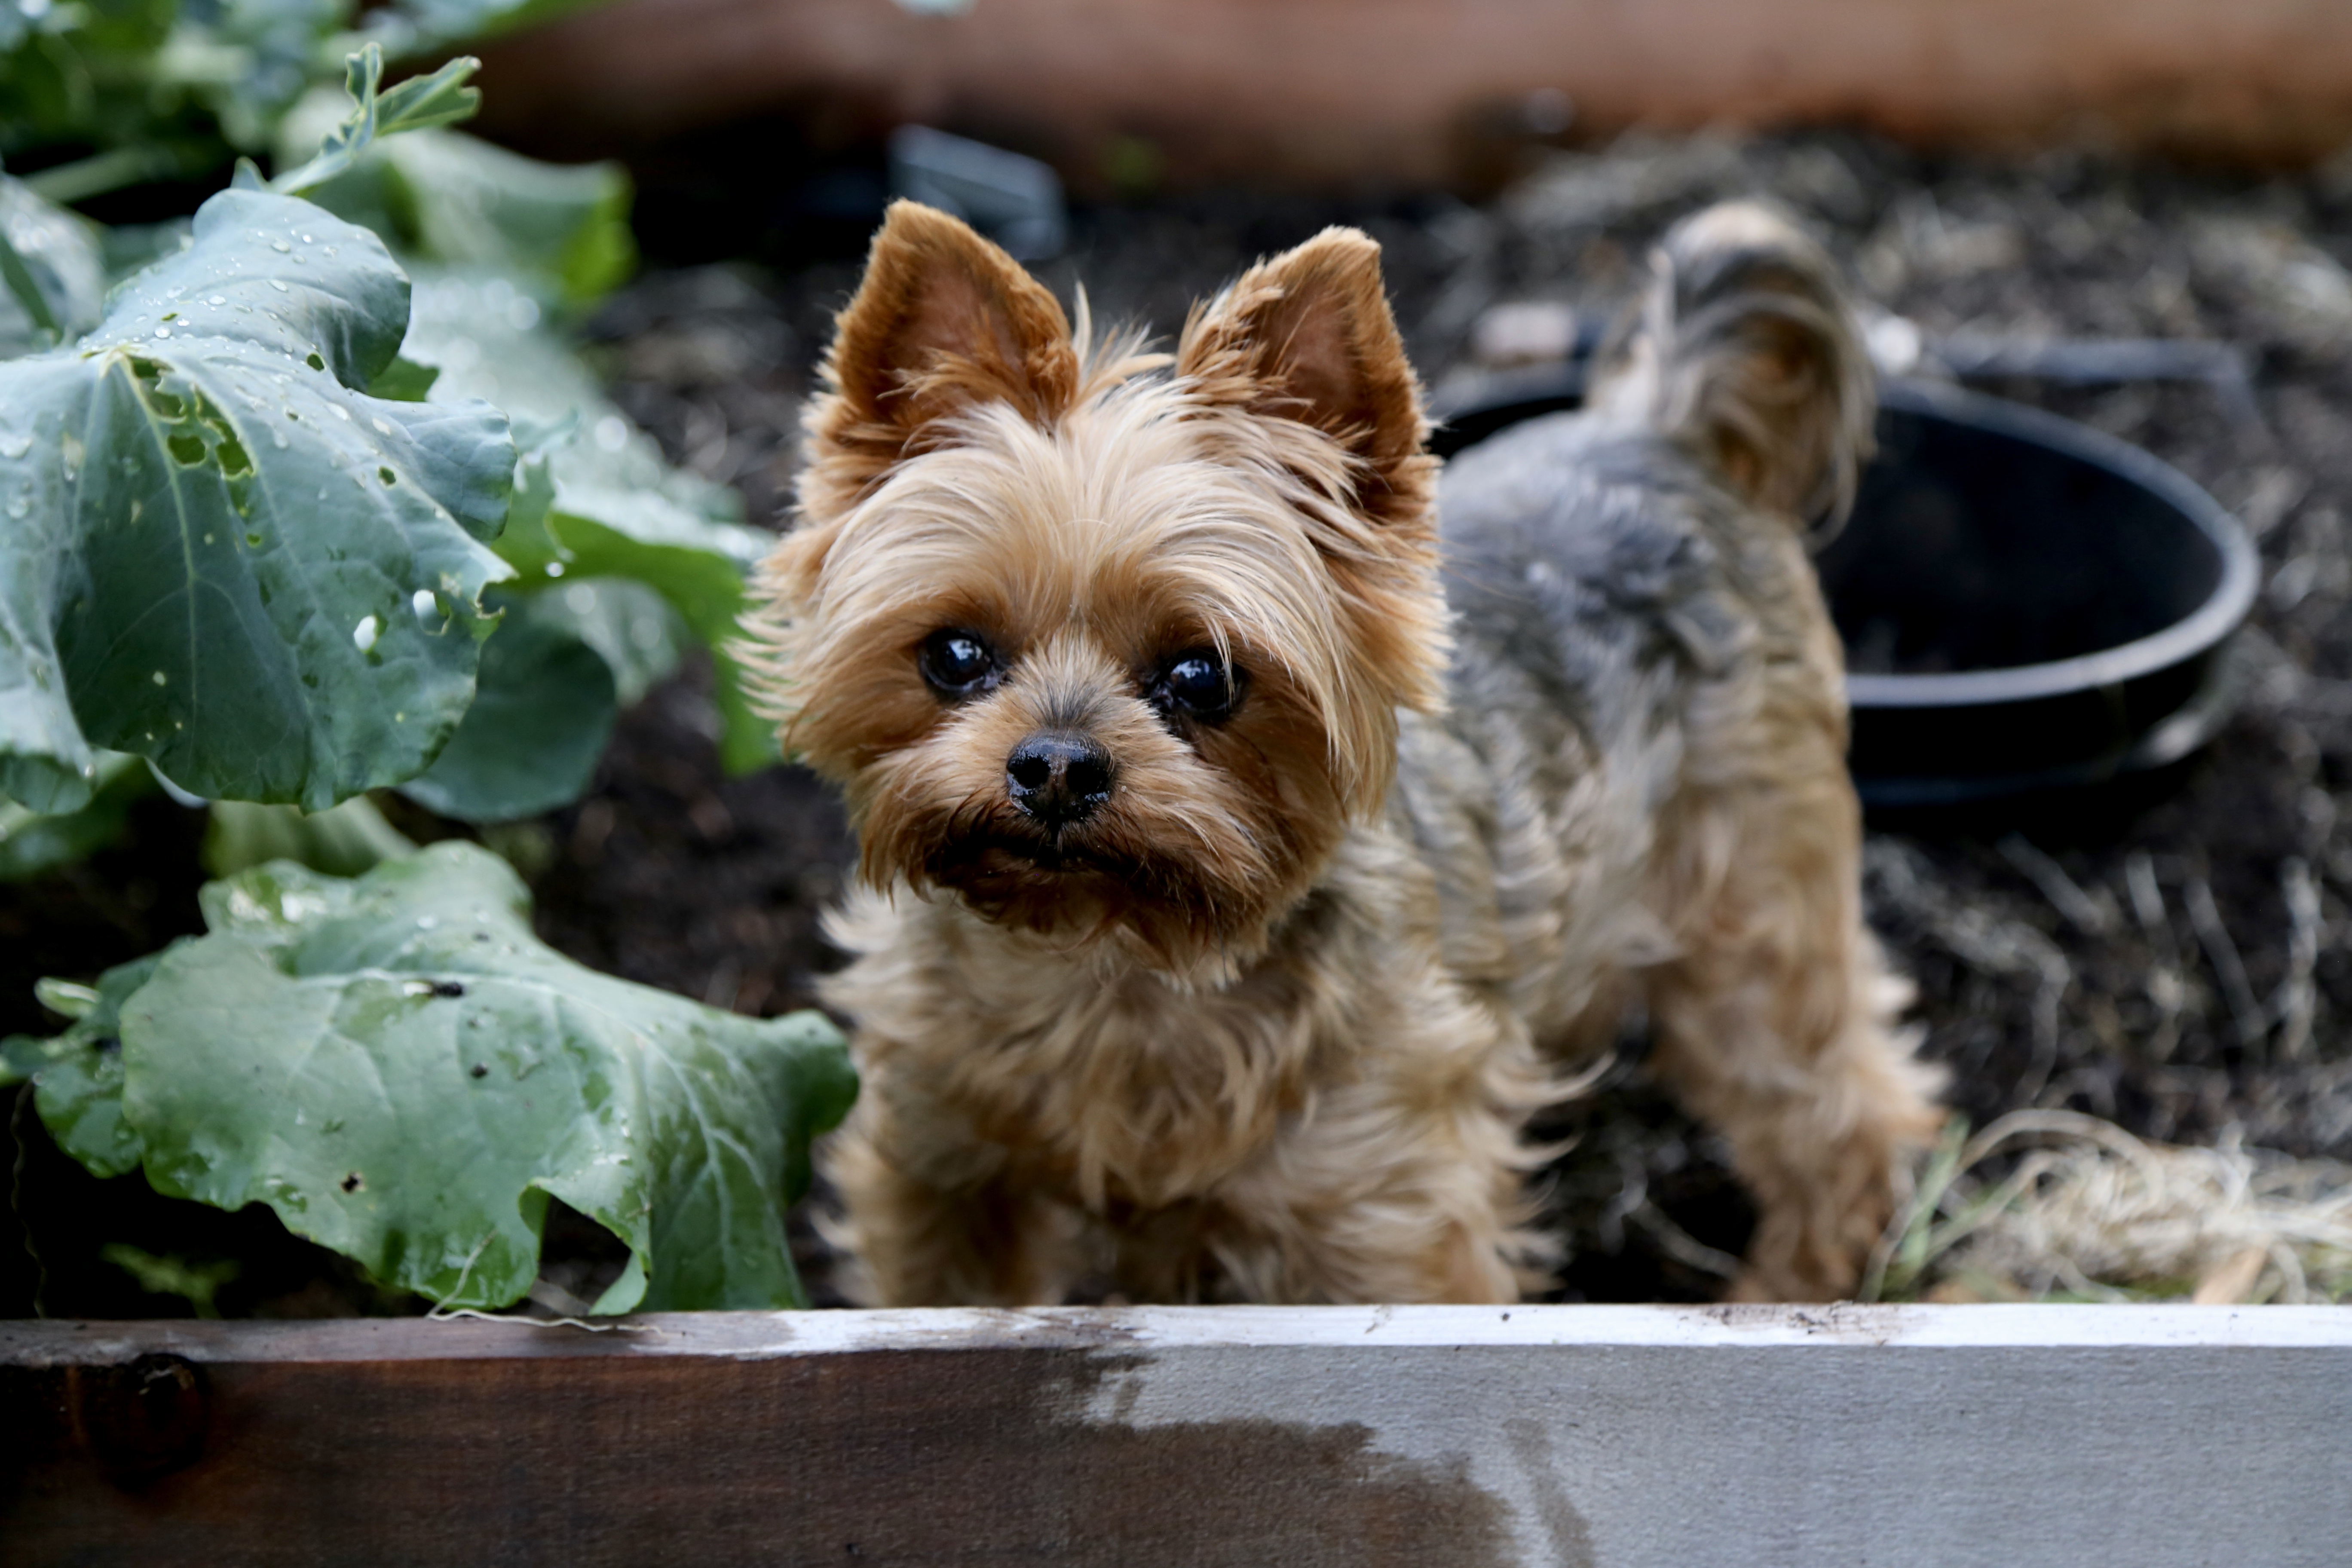
My worms are very curious creatures, and turn up in numbers without fail whenever I am planting seedlings or otherwise managing the garden. I swear they know me and like my quiet company. They are especially fond of my very young neighbours who visit regularly to check on ‘their’ carrots and radishes (even now, under row cover), and harvest anything they can reach, wash and munch on before heading back over the fence. Children love worms, and they love feeding them, so worm composts in-situ or freestanding are awesome projects to undertake at home, at school, even in the neighborhood.
My worm composts homes were intended for the tiny red wrigglers primarily (Eisenia foetida), the original starter batch (quart yogurt bucket full of inhabited vermicompost) gifted to me by my master gardener neighbour Yvonne. Those original wrigglers were descendants of the mail-order batch Yvonne and her young boys introduced into their indoor vermicompost bin over 20 years ago. Well-fed compost worms reproduce prolifically and quickly. I put all of the initial gift of wrigglers into just one of my in-ground composts, and as they multiplied I moved handfuls of inhabited compost into the other beds. I see very many garden variety worms and several of the larger Lumbricus rubellus wrigglers in my beds also, which means the composts are providing happy worm habitat and that word is getting around.

Worm composts are easy to make with readily available plastic buckets, and can be installed immediately in a patio planter, large container, or garden bed. I wouldn’t go any smaller than a one-gallon size bucket, which would suffice for a large planter or small bed, and I wouldn’t go any larger than 10 gallons or two five-gallon buckets in a 4’x’8′ bed. In use a single five-gallon black plastic bucket with lid in the centre of each of my 4’x8′ beds.
This ratio is based on nothing other than intuition and the bulk price I was able to negotiate for the buckets, but it seems to work just perfectly. I sized my composts when building the beds, but it isn’t necessary. You can easily sink buckets into existing beds.
You will need:
A few easy steps:

When I feel that I have overloaded on greens, I add some of the soil from the garden bed, and mix that in with some paper, just to lighten things up and make sure my little buddies can breathe and do their thing. They can live happily for up to 12 months, before they too become compost in situ. Such is the cycle of life.

Worms will eat one to two times their body weight per week, so if you purchase one pound of worms, you can expect them to eat up to two pounds of compost per week. This ratio will vary over time, with temperature, and at different times of year, because as compost evolves and develops its own biodiversity, microbes and other visitors will consume the organics as well. This is an awesome form of pre-digestion for the worms, and it makes nutrients available to plants and fungi.
I overheard my little neighbour Sophia ask her dad how the worms in the composts poop, and he told her, through their tails.
I’m not sure if he actually knew that or if it was a guess, but it’s true that a worm’s bum is at the far pointy end of its ‘tail’.
So now that you have the scoop on poop … happy vermicomposting!

I love this idea of vermicomposting right in each raised bed! I see another gardening experiment coming on for next spring!
This is probably a question whose answer is very obvious to experienced vericomposters, but how do you collect the casings from your in-ground worm bins? I understand how any liquid produced would just naturally leech into the soil, but cannot figure out how one would access the casings/finished compost that would eventually be at the bottom of the bucket.
I am getting ready to break down my vegetable beds for the winter. We are in one of those HOA’s that does not allow any sort of composting. Over the past two years, I have developed healthy beds to grow my veggie’s in and have also invested a lot of time and some money in getting a variety of worms from Uncle Jim’s to help with composting and clay soil. They devour pretty much anything I put into my small, in bed compost buckets and can be found all over my yard now; not just in the beds. Here’s my… Read more »