How to Build an Urban Rooftop Garden
Everything you need to grow veggies up high.
City life offers countless joys and moments of excitement, but it’s often a life disconnected from nature, where stone, brick, and concrete dominate the landscape, space is in short supply, and any arable land is either claimed, blighted, or paved over. So, unless you’re one of the lucky few who actually has a small plot of land (or has managed to snag a coveted spot at a community garden) your best (if only) option is to buy some pots and soil, pick out some seedlings, and haul it all to the best space available: an unoccupied roof or balcony.
Find your growing spot
You probably won’t have much choice about where you’ll be putting your rooftop garden. Always get permission before setting up a rooftop garden, and never keep plants on fire escapes. Obstructing fire escapes is dangerous, illegal, and even small plants can create a hazardous obstacle. Never place pots on the edge of a roof, as even heavier growing vessels can get blown off by high winds or strong storms. Be smart!
What you’ll need
To get you up and running, you’ll need a trowel, some sturdy waterproof gloves and a hose, unless you’re ok with hauling gallon upon gallon of water by hand. If a hose simply isn’t an option, or if you’re planning on just a few pots, pick a large, plastic watering can with a spout that ends in a showering head. This will gently water your plants instead of glugging water onto them, which can displace soil.
Of course you’ll need soil, somewhere to store extra soil (preferably in a waterproof container like a metal trash can), sturdy trellising and pots. Choose pots large enough to allow your plants to flourish: Ten-gallon pots are a great size for tomatoes, while seven-to-five gallon ones are good for peppers. Smaller three-gallon pots are great for herbs. More space is better than less.
Rectangular window boxes are great for flowers but generally not a good fit for vegetables. Some exceptions are herbs, radishes, and compact Little Gem lettuces. When it comes to pot material, skip terracotta, ceramic, and wood: While terracotta and ceramic pots look great, changes in temperature, humidity, and outdoor storage during the winter almost guarantee you’ll only get a single season’s use out of them before they crack, flake, and shatter. The same goes for wood, which will likely warp and rot. Try to stick with vessels made of plastic or recycled materials.
I’d also advise investing in a geotextile to protect your crops from high winds, strong storms, or a sudden cold snap (I use and recommend Reemay).
And of course you’ll need seeds. Choose plants that are tolerant of full sun and will thrive in containers. Vining plants like squash and cucumbers will not do well on hot, exposed roofs, and setting up a large enough vertical trellis is quite difficult, as those systems are often designed to be staked in the ground.
Peppers are easy to grow and typically provide great yield. As mentioned earlier, radishes and Little Gem lettuces are great for rectangular planters. They grow rapidly and do well in small spaces, giving you consistent return for little effort.
Position herbs alongside walls, which will cast shade during at least part of the day. Many herbs require at least some shade and some (like cilantro) are not heat tolerant, making them a bad fit for rooftops.
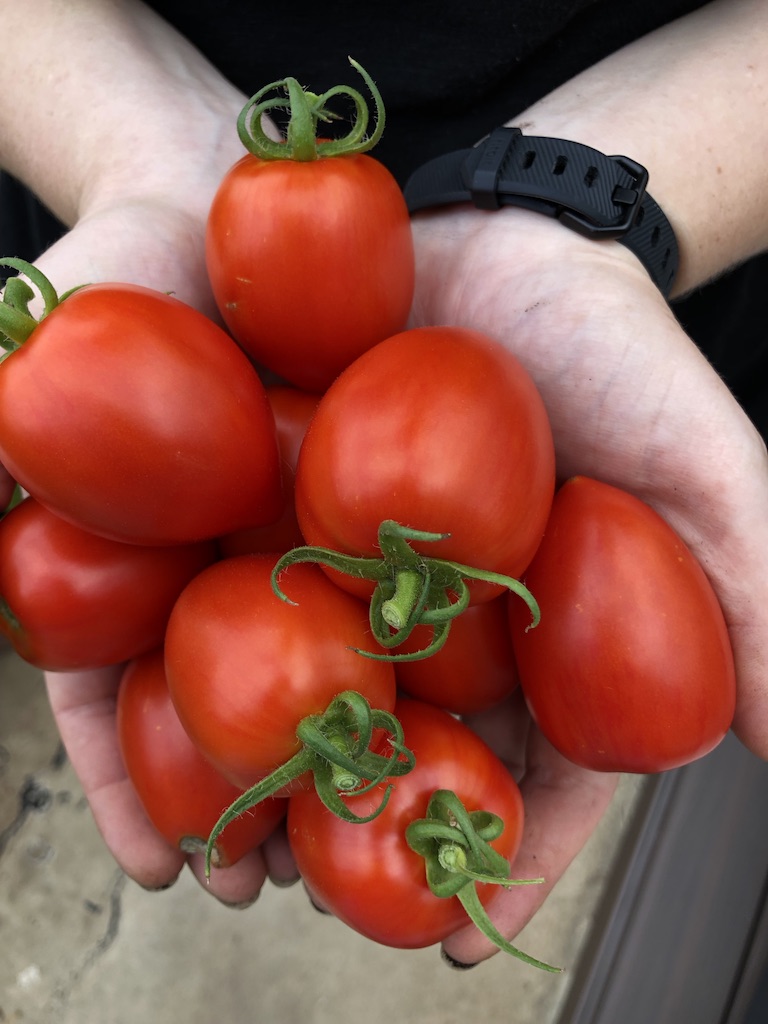
Tomatoes are a great choice for roof gardens. Choose indeterminate tomatoes, which produce fruit all season long. They’ll require trellising but you’ll get far more fruit than from determinate tomatoes, which grow into a bush and produce a single large harvest.
Roof gardens are mysteriously beautiful, even if all of your planters are second hand (or even made from old dresser drawers or plastic buckets). If your garden looks a bit ramshackle at the beginning, don’t stress about it. The greenery will dramatically improve the appearance. And, no matter what you decide to do, plant flowers. They’re easy to grow, beautiful, and provide a welcome habitat for pollinators.
Pests
City rooftops may seem like a sterile environment but they have a surprising amount of wildlife. We’ve dealt with a range of pests on our Manhattan rooftop, including tomato hornworms, ant infestations, aphids (which ants actively protect in order to harvest the sweet ‘honeydew’ they exude), and thieving birds. Perhaps most surprisingly, we discovered mice living on our rooftop have been burying acorns in all of our pots, and removing oak tree sprouts has become a daily chore. We recommend a holistic approach for dealing with pests that avoids pesticides and other chemical interventions. Surrounding plants with diatomaceous earth can help keep away insects such as ants, a mild solution of dish soap mixed with water can help control aphids, and planting marigolds amongst tomatoes is said to ward off tomato hornworms.
Watering
Constant exposure to wind and sun will quickly dry out your rooftop pots. Expect to be watering on a daily basis for the duration of the summer and even during the shoulder time between summer and fall. During times of extreme heat you may need to water twice, once earlier in the day and again during the afternoon or early evening. If your schedule can’t accommodate that, just do your best, watering in the morning and thoroughly soaking them, to the point where water runs out the bottom of the pots. This will help them stand up to the summer heat.
Keep in mind that even plants which typically don’t require regular watering will need more frequent hydration. Monitor your plants and you’ll soon figure out what a good watering schedule is.
Weeding
Just like a garden planted in the ground, your rooftop oasis will require active weeding. Most of the time you don’t actually need to pull up every single shoot you find, but try to stay on top of particularly robust weeds like clover, which spread rapidly (even between pots!) and grow like wildfire.
Storms
If you’re expecting a significant storm or high winds, move plants against the highest available wall, as this will help to prevent them from tipping over. Wrap them in Reemay if you have it, or surround them with whatever sturdy patio furniture you might have to help create a windbreak.
Aside from hauling over 500 pounds of soil to the roof of our elevator-free building, the most challenging aspect of building our garden has been figuring out which plants will work for our particular conditions. A lot of conventional wisdom doesn’t really seem to apply when your plants are in containers on top of a windswept, sun-exposed building, and it’s been a years-long series of experiments to see what we can get to thrive. When you harvest your first tomatoes, make your first roof-grown salad, or put a flower you grew into a vase, it’s abundantly clear that it’s worth the trouble.


have it