5 Garden Edibles You Can Grow in Water
Save yourself some money and make use of your harvest’s odds and ends.
You may have heard the hype around spring onions and their ability to regrow with a touch of water. It’s a little life hack that can save you money and a trip to the store. Luckily, it’s not the only vegetable with these properties. We’ve assembled a list of five other plants and some basic instructions that will allow you to propagate your garden scraps. You don’t need another reason to leave the house right now, anyway.
Happy growing!
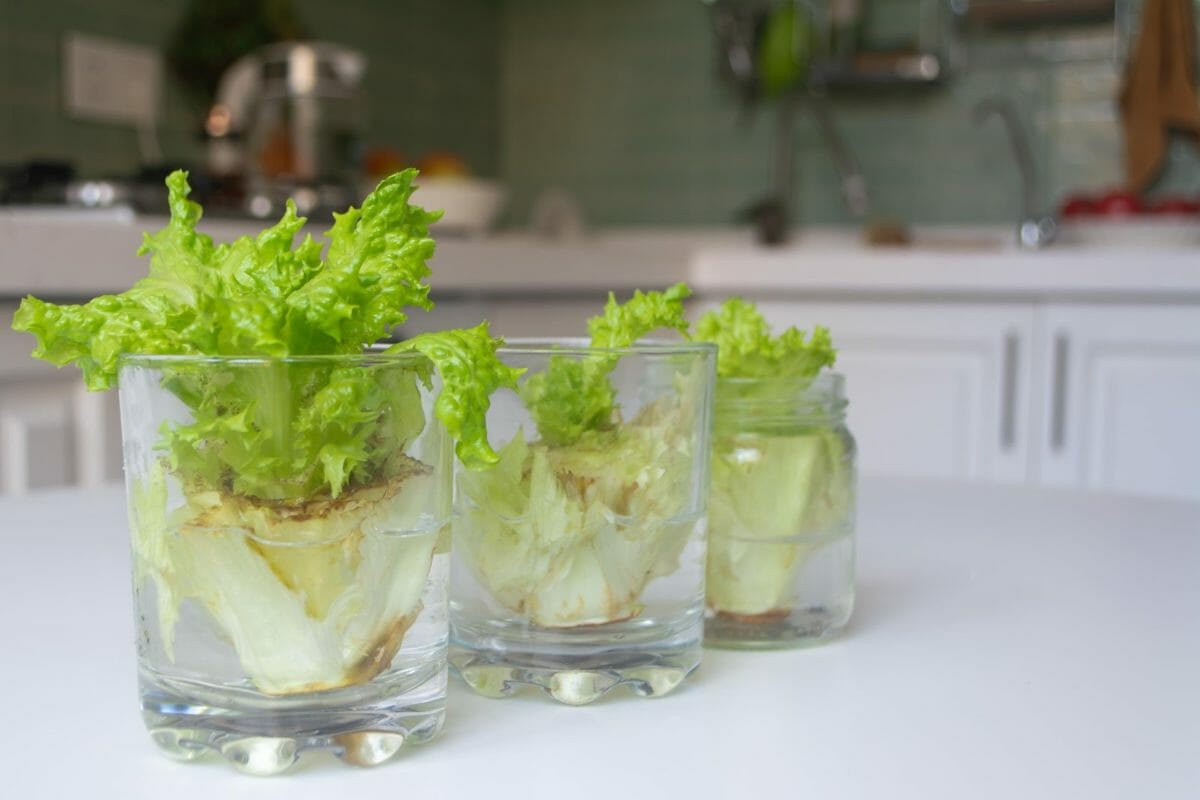
Lettuce
You’re going to have to use a head of lettuce, as its base will be where the new roots start to grow.
1) Cut off the base of your lettuce and place it in a glass of water or a bowl. You don’t want the lettuce fully submerged in the water, just about an inch to half of an inch to cover the bottom root area.
2) Leave it by a windowsill in the sunlight.
3) Every one to two days or when the water appears to look a little cloudy, change the water. You can rinse the lettuce with water as well each time you change the water. You will notice regrowth happens in the center of the lettuce, so there’s no need to panic if the perimeter leaves dry up a bit.
4) After about two weeks, you’ll notice some new leaves that have sprouted out of the top. You’ll also see that new roots have developed at the base of the lettuce and this means that it will be ready to be transferred into soil.
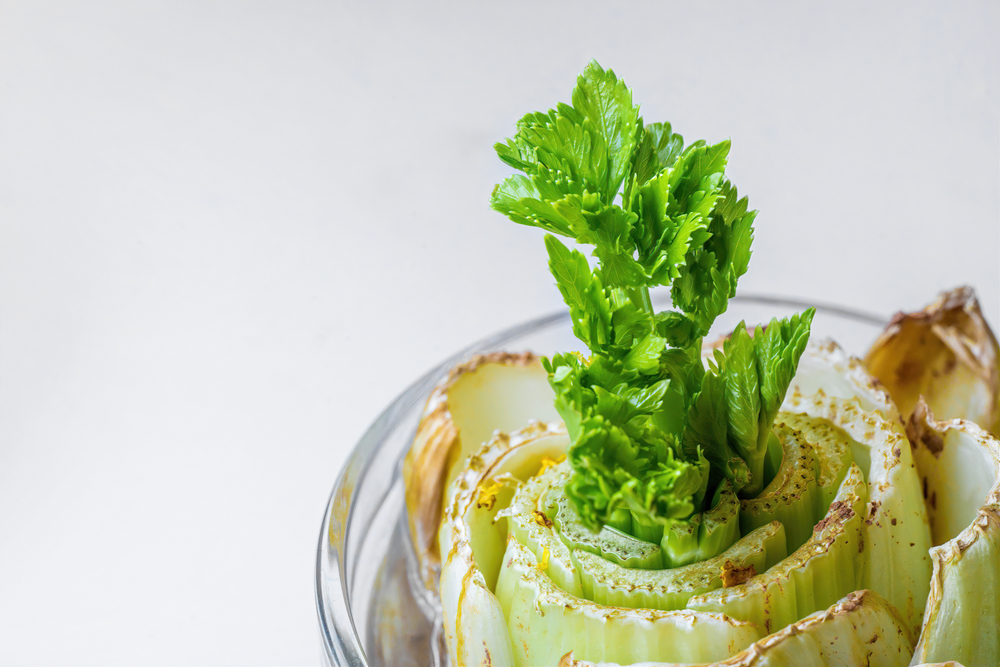
Celery
For celery, it’s important that you’re using a celery bunch and not an individual stalk. Just like if you were to regrow lettuce in water, the base of the bunch contains the roots.
1) Cut the bottom of your celery bunch about two to three inches from the bottom of the base.
2) Remove some of the older stalks on the perimeter of the bunch (only the outer three or four pieces).
3) Place the celery base in a cup, dish or bowl of water. The base should be immersed in water about one inch deep.
4) Change your water every three days or whenever you notice it starts to become cloudy.
5) After two weeks, you should notice some roots at the sides of the base. This means it is safe to be planted back into the soil (about one inch deep). To avoid transplant shock, ensure your soil is moist when planting.
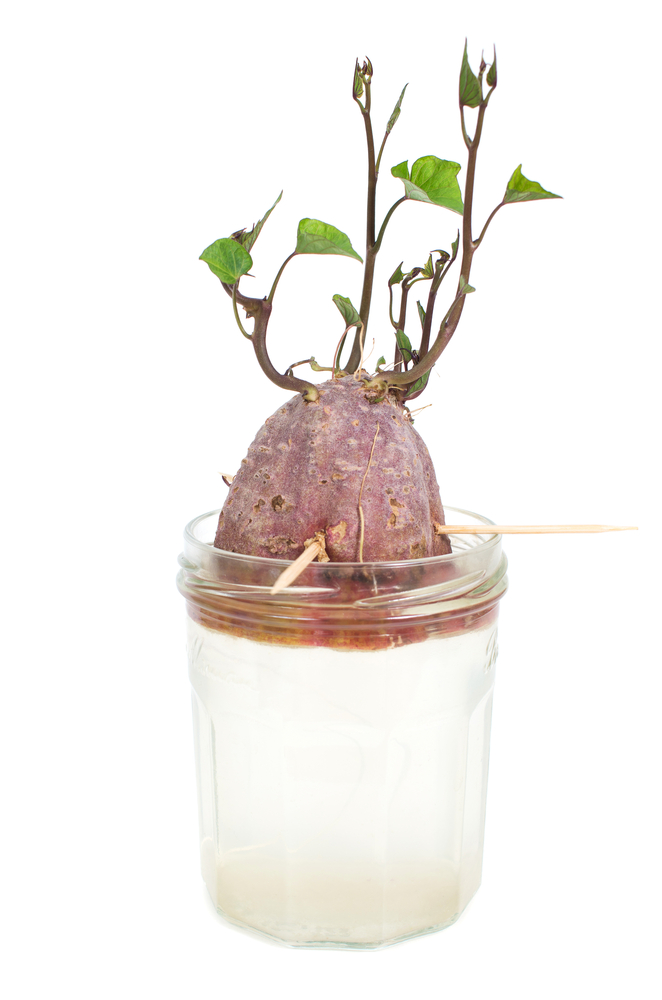
Potatoes
1) Wash your potatoes to remove dirt, pesticides or any residue.
2) Cut the potato in half on its long side, but be careful not to cut through an eye (small dots on the potato skin) because that will later be germinating.
*If you don’t see eyes that have sprouted yet, leave them out near a window for a few days until they do.
3) Pierce four toothpicks about one fourth of the way into the top of the potato (where the skin is showing). Each toothpick should face in a different direction. It will look like an “x.”
4) Fill a glass of water and allow the cut side of the potato to be immersed. The toothpicks should be able to hold the top of the potato up on the lip of the glass.
5) Leave the potato in the glass in sunlight for about five or six hours each day for one to two weeks. Change your water when it gets cloudy.
6) Once your potatoes have roots, you can replant them in soil, root side down with the sprouts facing towards the sky.
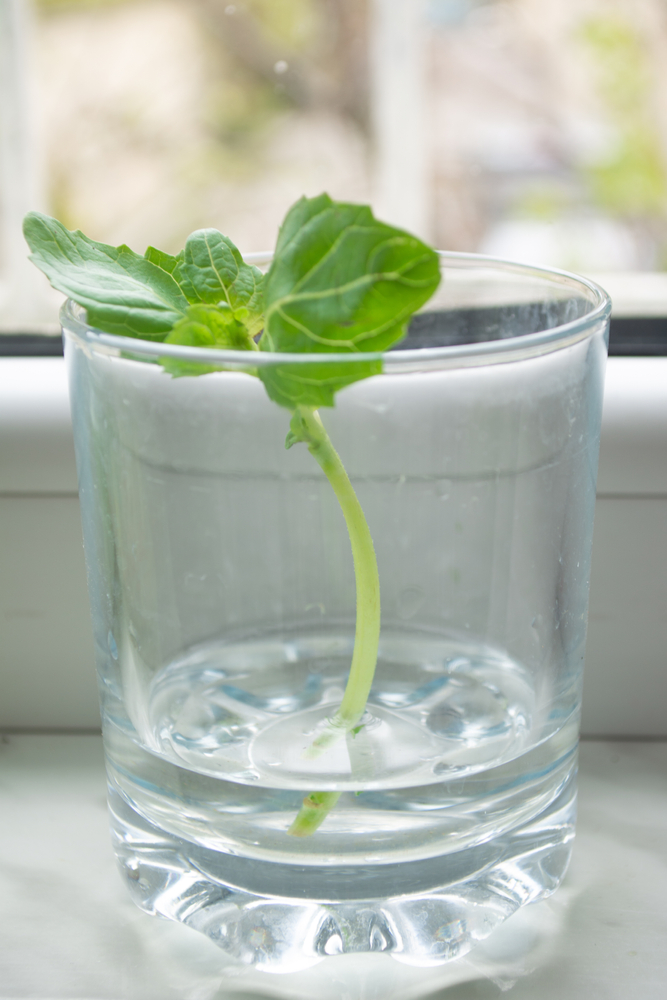
Basil
1) Break off the lower leaves of the stem (about two inches from the bottom).
2) Put your basil stems inside your jar and add water.
3) Place the jar on your windowsill in bright, indirect sunlight.
4) Change the water every few days or when you notice it gets cloudy. It’s also important to monitor water levels. Add more to the jar if you need to in order to keep the stems immersed.
5) Let your roots grow to reach about two inches. This typically takes about 12 to 18 days.
6) Re-pot your stems with the roots in soil.
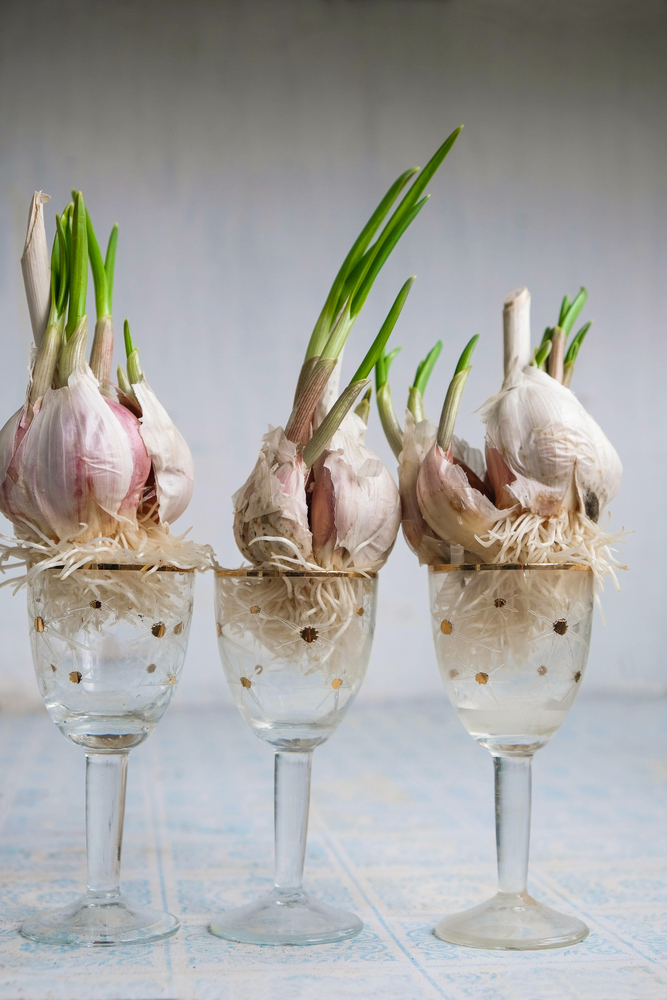
Garlic
For best results, use cloves that have already grown a small green sprout out of the tip.
1) Fill an empty cup or jar with a small amount of lukewarm water. It’s best to use a container that is clear so you can monitor growth.
2) Place your garlic inside the cup root side down with the pointy sprout part facing up towards the lip of the container. It’s important to note that the water should cover slightly over the root of the clove. It should not be completely submerged or else it will rot.
3) Place the cup on your windowsill in sunlight for seven days. If you notice that the green sprouts start to turn brown or wilt, take your container out of the sun for one to two days.
4) Change your water every few days when you notice that it starts to turn cloudy.
5) After about a week you should have extensive root growth and your garlic will be ready for replanting in soil. Ensure that your cloves are six inches apart when you replant.

your potato picture is a sweet potato!