3 Ways to Build a Hog Wire Trellis
The panels are typically sold in 16-foot lengths at feed stores and range from 34 inches to 50 inches in height. Technically, only the shorter panels are for containing pigs, while...
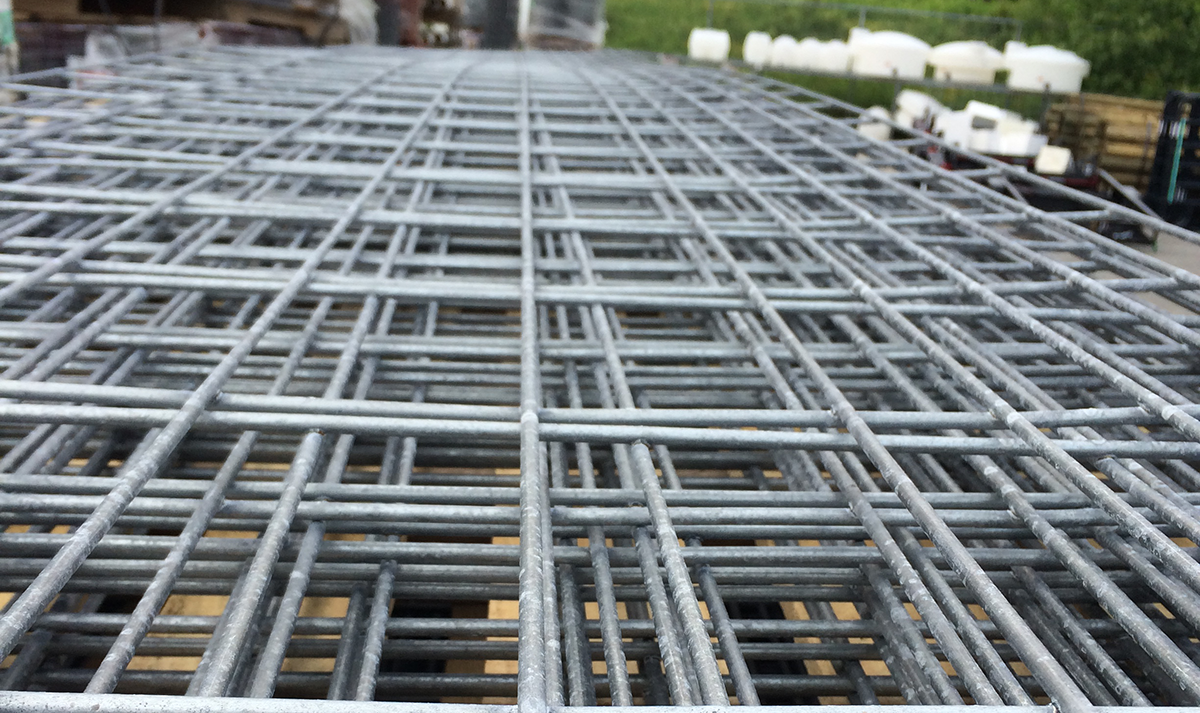
The panels are typically sold in 16-foot lengths at feed stores and range from 34 inches to 50 inches in height. Technically, only the shorter panels are for containing pigs, while the taller versions are often labeled as sheep or cattle panels. The spaces between the wires are large compared to mesh fencing – usually 4 inches by 4 inches or 6 inches by 6 inches. The wider spacing coupled with beefier wires makes hog panels more aesthetically attractive than wire mesh fencing, so it is often used in landscaping projects. Here are three ways to use them to make a trellis.
Tools and Materials
34-inch or 50-inch livestock panel
10 3-inch metal hooks
1/8-inch drill bit
Drill
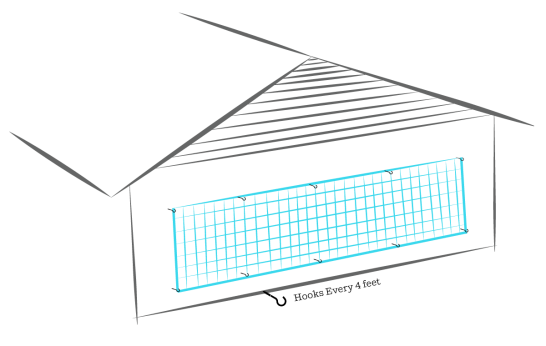
This version is best for lightweight annual vines like peas, beans, nasturtiums or gourds. It’s also a good choice for supporting ‘cane’ fruits, such as blackberries and raspberries. Use it on any exterior wall – house, barn or shed – that you don’t mind drilling a few holes into.
Tools and Materials
34-inch livestock panels
5-foot metal T-posts (four for each livestock panel used)
Baling wire
Sledge hammer or post pounder
Wire cutters
Pliers
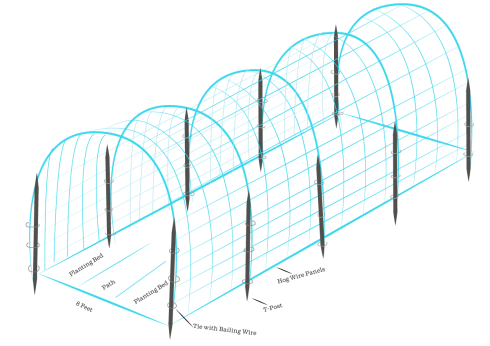
This version works for heavier annual vines like cucumbers, squash and tomatoes. It’s also effective for medium-weight perennial vines, such as hops, passion fruit and climbing roses. The size of the panels is just right for spanning the width of two 3-foot wide garden beds with a 2-foot wide path in between.
Tools and Materials
2 ”“ 34-inch livestock panels
2 ”“ 6-inch-by-6-inch-by-8-foot posts
Box of ¾-inch poultry staples
6 – 2-inch by-4-inch-by-8-foot boards
Box of 3-inch exterior grade screws
7 ”“ 60 lb. bags of concrete
Hammer
Drill
Post hole digger
Level
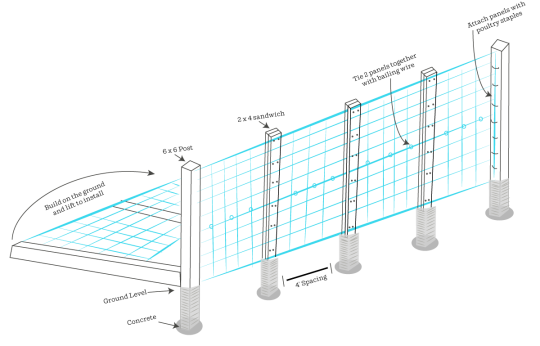
This is a large, sturdy trellis that can also be used as a fence. Use it for the heaviest vines, like grapes, kiwi and wisteria.

Very nice, Ill be using all three ways