In Season: Chili Peppers
Welcome to Modern Farmer’s harvest column, in which we highlight what is seasonal, talk to those who grow it, and share a recipe (or two). This week: chili peppers.
In Season: Chili Peppers
Welcome to Modern Farmer’s harvest column, in which we highlight what is seasonal, talk to those who grow it, and share a recipe (or two). This week: chili peppers.
When growing your own chili peppers, it’s important to know that they get hotter with the weather and a hot summer will produce the sort of incendiary pepper that leaves a lasting impression. Scientifically, chilies’ heat is evaluated on the Scoville heat index, a measure of the capsaicin ”“ the true spicy power ”“ in the pepper. But I have my own index. Is my upper lip sweating? Is the top of my head numb? Are my ears tingling? Am I standing in front of the refrigerator gulping down a quart of cold milk in an attempt to put out the raging fire? This is the life of a chili gardener. Uncertainty, peppered with reckless abandon.
Chili peppers run with the fast crowd in the garden. With bees as enablers, there is wild, uninhibited cross-pollination between chili pepper varieties unless planted at least a half mile apart. Because heat levels range widely between varieties, this means that, unless the garden is planted with only one type of chili, it is almost impossible to control the Scoville heat in a homegrown chili pepper.
—
Naturally, in a hot, preferably dry, summer season, chili peppers are happy garden residents. They flower in mid-summer and continue bearing until frost. With very little help, they produce a boatload of chilies. The only challenge? The peppers arrive at the end of the growing season. They turn red. They soak up the late summer sun. They get hotter. Jalapenos pack a surprising punch. Poblanos are a little zestier. And it’s like Russian Roulette with the padrons and shishitos. For me, an avid home food preserver, all this abundance arrives just when I have already been canning hundreds of pounds of tomatoes and, frankly, I’m a little worn out. But there they are — a few dozen chilies still holding on in late September and early October.
I’ll spend an evening with a big needle and fishing line or sturdy cotton thread stringing peppers for drying, carefully knotting between each pepper to improve airflow. The long strings of mixed chilies dry over time, needing only a space with low humidity. Mine hang in a dark corner of the garage where the autumn temperatures rarely range above 55°F. By early December they are thoroughly dry and ready to be stored in jars for the winter, to be plucked out and crumbled, or rehydrated, as needed.
If you’re not handy with a needle and thread, or have no appropriate spot to dangle a string of drying peppers, thank goodness for hot sauce, one of the easiest of all preserving projects. If you have been meaning to try your hand at canning, this is straightforward, inexpensive, and makes a great holiday gift (that is, if you’re willing to part with this precious elixir).
It’s hard to believe that, until a few years ago, I thought hot sauce was strictly for a Bloody Mary or hot wings, but otherwise, it was no big deal. Then Sriracha came along: that sweet opening salvo ending with a slam-dunk of heat. I combined it with mayonnaise, added a squirt to marinades, plopped a few drops on my morning eggs ”“ well, essentially, stirred it into pretty much everything. After a while, however, I looked at the ingredient list. That’s an act I do not recommend if you intend to continue to consume it.
I had to find a way to make my own. I discovered a few recipes online, and made several batches, playing with the ratios, the chilies, the vinegars and the sugars. Soon, I began asking other DIYers what they were doing, researching chilies, chatting up farmers at the markets, looking for the perfect chili pepper to make hot sauce. There is an entire culture of hot sauce makers out there. They are obsessed. I get it.
Because of my fondness for hot sauce, I grow as many different chilies as will fit in my small garden, usually whatever plants I find on the table at the farmers’ markets in early summer. In many cases, these plants are mystery chilies, either mislabeled or not labeled at all. I’ve learned to roll with it, using the internet to identify the variety once a pepper appears. Chilies thrive in any garden, but a longer summer and more sustained heat offer the best growing conditions. Keep in mind: Many chilies gain a crimson hue when left on the plant to ripen, turning the pepper slightly sweeter, too.
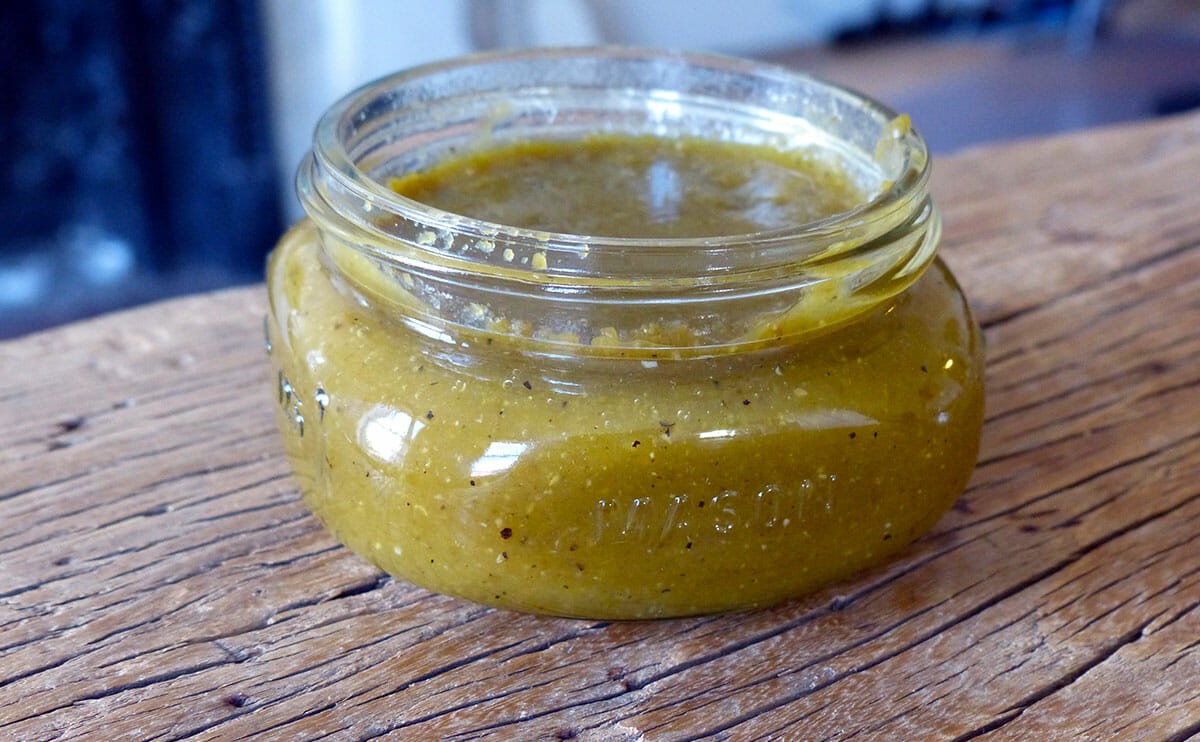
Hot sauces are often fermented and may be made with fresh, charred, or smoked peppers, and even dried chilies. There is usually vinegar and some sort of sweetener, and it’s the balance of three elements — the sweet, the acidic, and the hot — that makes for a tingly blend. Green chilies, like jalapeños and serranos, make a khaki colored, dusky sauce, while fresnos and cherry bombs make a vibrant red version.
One word of warning: Only dilution will reduce the Scoville heat. Balance is key. I know. I’ve made hot sauce that scared me. Hot chilies may be combined with sweet or mildly hot peppers for one variation on a hot sauce that won’t terrify the heat-sensitive. Fresnos pair happily with Anaheims, Habaneros and Jimmy Nardellos are good companions. Italian Bull Horns are mild and balance Santa Fe’s heat. But these are only guidelines, as every summer, whether dry or rainy, blisteringly hot or crisp and cool, will define the nature of those peppers.
Here’s what I have learned: Every chili pepper makes great hot sauce. Every single one. Look in the market, or in the garden, gather what’s there, and make up a batch, knowing full well that you will never be able to replicate it. That’s okay. Think of your hot sauce like vintage wine. And if it’s a very hot summer, it’s going to be a very good year.
This hot sauce should come with a steel band. It’s complex and searingly hot and spectacular brushed on fish or chicken headed to the grill. Wear gloves when dealing with chili peppers. If you have no gloves, coat your hands thoroughly in any cooking oil before working with hot chilies. The oil dilutes the peppers’ oil, which is where the skin irritant resides. To control the heat in the sauce, remove the seeds before the first brine, and to increase the heat, toast the seeds, then add them to the mixture.
Charred Jalapeno Hot Sauce
Makes: 8 four ounce jars or 4 eight ounce jars
1 pound plump, very fresh jalapeños
6 large garlic cloves, peeled but not crushed
2 cups any white vinegar with 5% acidity
2 tablespoons Kosher salt
1/3 cup wildflower or clover honey
3 thin rounds dried pineapple, torn into pieces
1/2 teaspoon Coleman’s mustard
1/4 teaspoon ground ginger or galangal
In a dry, heavy, cast iron pan on high heat, char the jalapeños and garlic until blistered on all sides, six to eight minutes. Place the charred chilies and garlic in a bowl and cover with a tea towel to steam for ten minutes.
Wearing gloves, stem and roughly chop the chilies. Remove or retain the seeds, depending on your tolerance for heat. If keeping the seeds, toast them lightly in the dry, cast iron pan. (see headnote)
Combine the vinegar and salt in a one-quart jar with cover. Shake or swirl to dissolve the salt. Add the chopped chilies and garlic, cover and leave overnight on the counter.
Put the vinegar mixture in a 3-quart heavy, non-reactive pot. Add the honey, dried pineapple, mustard and ginger. Cover and bring to a strong boil for three minutes. Do not stand over this pot and breathe in the scent ”“ it is unbearably irritating to the sinuses and the eyes and just not fun.
Puree the slurry in a blender, in batches, being cautious not to overfill the beaker. Run the blender for several minutes (depending on the strength of your mixer’s motor), until thoroughly smooth.
Press the mixture through a fine mesh strainer back into a 3-quart pot. If you find there are still large pieces of chili or garlic remaining in the strainer, put them back in the blender and continue to puree.
Return the pureed hot sauce to the pot and bring it back up to a boil for five minutes. Dip the tip of a spoon in and taste just a drop. It’s mighty powerful, or should be. If you want it to be a little sweeter, add honey by the teaspoon, stir and taste again.
Ladle the sauce into warm jars, allowing for ½-inch headspace. Process in a boiling water bath (see sidebar) for ten minutes.
The hot sauce is shelf stable for one year. It may separate; shake well before using. If you have created a sauce that is just way too hot, there is a way to reclaim it. After opening the sealed jar, to every four ounces of hot sauce, add one tablespoon vinegar (or beer or bourbon or water), shake well, and store in the refrigerator.
Follow us
Republish!
![]()
Republish our articles for free, online or in print, under a Creative Commons license.

This work is licensed under a Creative Commons Attribution-NoDerivatives 4.0 International License.
Want to republish a Modern Farmer story?
We are happy for Modern Farmer stories to be shared, and encourage you to republish our articles for your audience. When doing so, we ask that you follow these guidelines:
Please credit us and our writers
For the author byline, please use “Author Name, Modern Farmer.” At the top of our stories, if on the web, please include this text and link: “This story was originally published by Modern Farmer.”
Please make sure to include a link back to either our home page or the article URL.
At the bottom of the story, please include the following text:
“Modern Farmer is a nonprofit initiative dedicated to raising awareness and catalyzing action at the intersection of food, agriculture, and society. Read more at <link>Modern Farmer</link>.”
Use our widget
We’d like to be able to track our stories, so we ask that if you republish our content, you do so using our widget (located on the left hand side of the article). The HTML code has a built-in tracker that tells us the data and domain where the story was published, as well as view counts.
Check the image requirements
It’s your responsibility to confirm you're licensed to republish images in our articles. Some images, such as those from commercial providers, don't allow their images to be republished without permission or payment. Copyright terms are generally listed in the image caption and attribution. You are welcome to omit our images or substitute with your own. Charts and interactive graphics follow the same rules.
Don’t change too much. Or, ask us first.
Articles must be republished in their entirety. It’s okay to change references to time (“today” to “yesterday”) or location (“Iowa City, IA” to “here”). But please keep everything else the same.
If you feel strongly that a more material edit needs to be made, get in touch with us at [email protected]. We’re happy to discuss it with the original author, but we must have prior approval for changes before publication.
Special cases
Extracts. You may run the first few lines or paragraphs of the article and then say: “Read the full article at Modern Farmer” with a link back to the original article.
Quotes. You may quote authors provided you include a link back to the article URL.
Translations. These require writer approval. To inquire about translation of a Modern Farmer article, contact us at [email protected]
Signed consent / copyright release forms. These are not required, provided you are following these guidelines.
Print. Articles can be republished in print under these same rules, with the exception that you do not need to include the links.
Tag us
When sharing the story on social media, please tag us using the following: - Twitter (@ModFarm) - Facebook (@ModernFarmerMedia) - Instagram (@modfarm)
Use our content respectfully
Modern Farmer is a nonprofit and as such we share our content for free and in good faith in order to reach new audiences. Respectfully,
No selling ads against our stories. It’s okay to put our stories on pages with ads.
Don’t republish our material wholesale, or automatically; you need to select stories to be republished individually.
You have no rights to sell, license, syndicate, or otherwise represent yourself as the authorized owner of our material to any third parties. This means that you cannot actively publish or submit our work for syndication to third party platforms or apps like Apple News or Google News. We understand that publishers cannot fully control when certain third parties automatically summarize or crawl content from publishers’ own sites.
Keep in touch
We want to hear from you if you love Modern Farmer content, have a collaboration idea, or anything else to share. As a nonprofit outlet, we work in service of our community and are always open to comments, feedback, and ideas. Contact us at [email protected].by Cathy Barrow, Modern Farmer
October 9, 2013
Modern Farmer Weekly
Solutions Hub
Innovations, ideas and inspiration. Actionable solutions for a resilient food system.
ExploreExplore other topics
Share With Us
We want to hear from Modern Farmer readers who have thoughtful commentary, actionable solutions, or helpful ideas to share.
SubmitNecessary cookies are absolutely essential for the website to function properly. This category only includes cookies that ensures basic functionalities and security features of the website. These cookies do not store any personal information.
Any cookies that may not be particularly necessary for the website to function and are used specifically to collect user personal data via analytics, ads, other embedded contents are termed as non-necessary cookies.