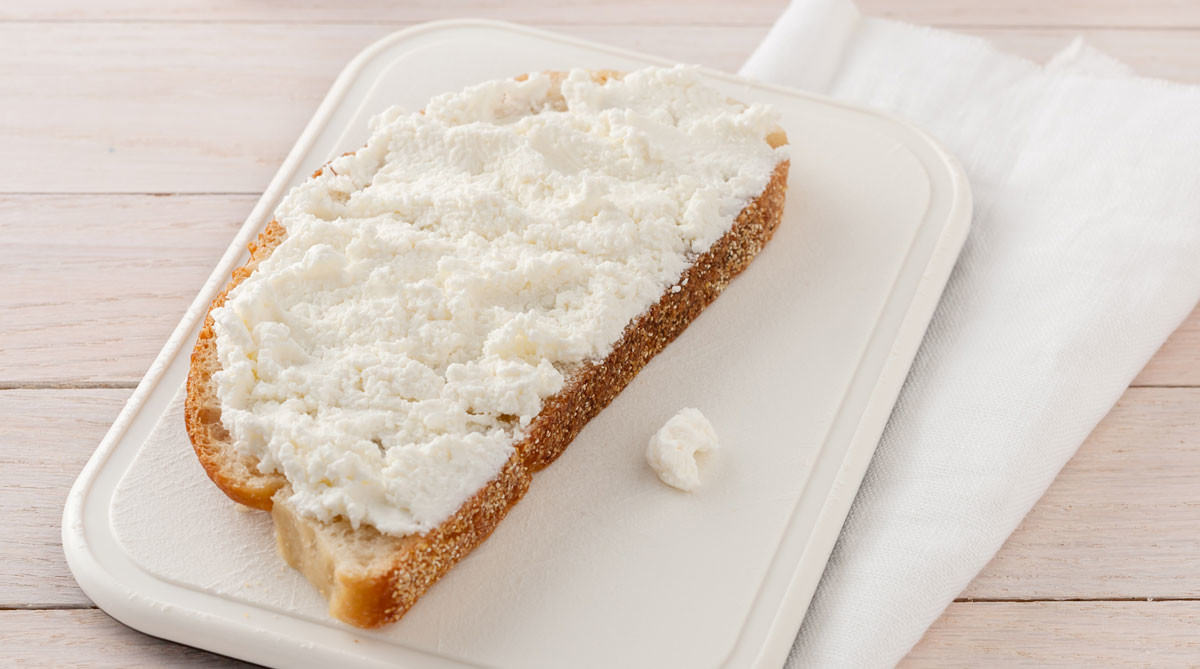
How to Make Farm-Fresh Cheese at Home
Like fine wine, good cheese has a reputation as something that requires expert skills and special equipment to make. It’s the kind of thing there are four-year degree programs for; not something you would attempt after work one night.

In trying to remember the simple job of making cottage cheese, I found this might be a most interesting connection.
How can I use the whey?
well done
Just made the 3rd time using raw milk and vinegar. 1st time was with fresh raw from friend with a dairy cow. 2nd time from store bought raw.. This time from different friend with dairy cow and this time there is alot of fat and yellow tint that was not in the last 2 times. It is creamier, most spreadable. Would this process work if I strained off the cream? What would change in flavor and texture? Thankyou.