By Sara Everett
on June 13, 2016
Trade unpleasantly savory smoke for something a little more sweet and pleasant.
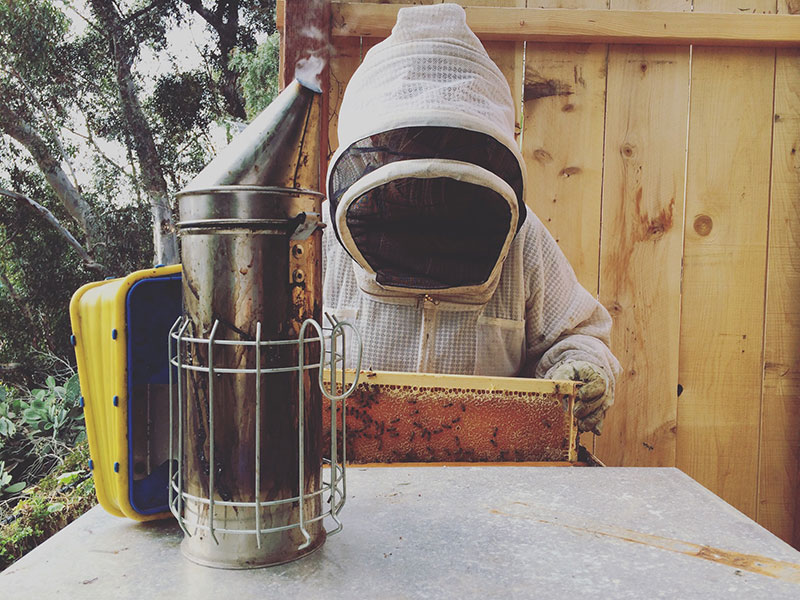
The good news is there is a simple way to improve the inadvertent perfume. It starts with choosing a different kind of fuel. When smoke is made from typical materials – wood shavings, pellets, and burlap – the smell that sticks is unpleasantly savory, a mix of beef jerky and barbecue. But when the smoke is made from forest-floor pine needles or spicy embers of sage, the beekeeper’s smoky aroma is sweet and pleasant like incense. Added plus: Smoke from some organic materials, like grapefruit leaves and creosote bush, have shown promise in reducing varroa mites, according to preliminary USDA research.
[mf_h2 align=”left” transform=”uppercase”]Step 1: Gather Organic Materials[/mf_h2]
This project is about having fun with the bee smoker, but it’s also about avoiding waste and not needing to buy fuel.
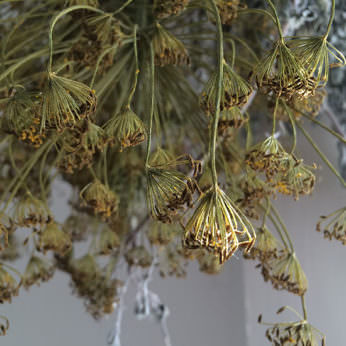
Start by just looking around: What’s abundant in your yard? In your kitchen? Would neighbors let you gather from their yards? Is there something you’ve been throwing out that you could burn instead? Herbs like mint, sage, basil, lavender, and oregano burn with a flash of sweetness and white smoke. Eucalyptus leaves are highly flammable and have a strong medicinal scent – they are great for getting your smoker lit. Also, collect materials that are oily and hardy: citrus peels, rosemary needles, and pine needles go a long way in the smoker. And don’t toss old flower arrangements. Set aside browning roses and anything in the sunflower family (sunflowers, daisies, zinnias, etc.) to dry and put in the smoker.
But be careful: Choose organic plant-based materials – don’t burn anything that’s toxic, or contains synthetic or plastic elements. Also, many native and exotic plants produce noxious smoke and can make you feel sick. Stick to plants that are commonly eaten, used in skin care, made into home-care products, or distilled into essential oils. And remember to gather responsibly, ecologically, and lawfully, if you decide to do some wild harvesting.
[mf_h2 align=”left” transform=”uppercase”]Step 2: Organize Your Materials[/mf_h2]
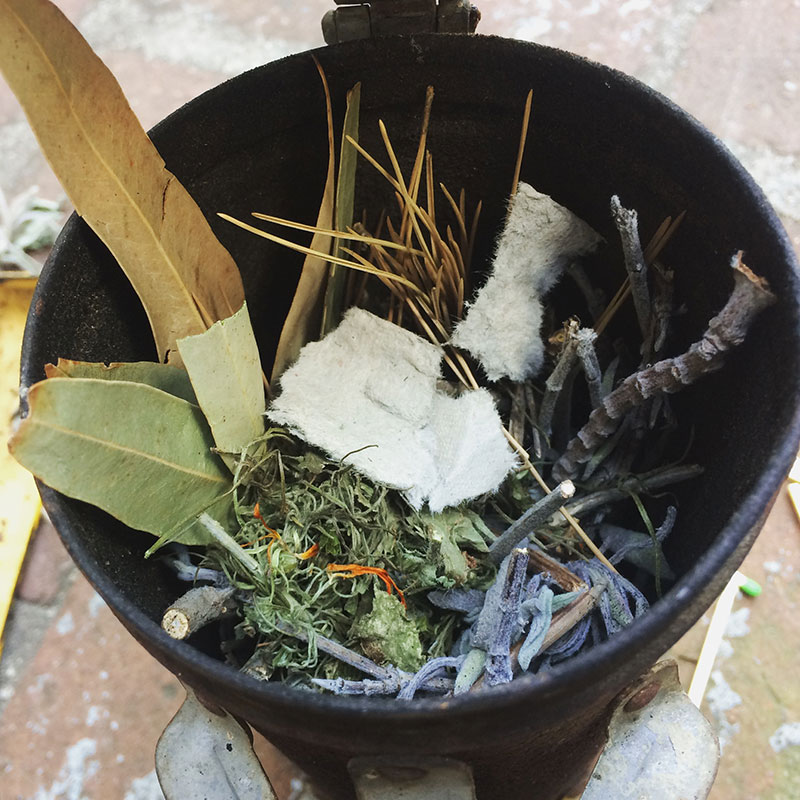
Once you have potential plant materials identified, take note of their dominant characteristics as a fuel for a little insight into how they’ll burn. For example, leafy materials make good tinder once they’re dry. Oily or resinous plant material, like rosemary sprigs or orange peels, take a longer time to dry, but once they are, last longer in the smoker. Traditional kitchen herbs, like basil and sage, make a really sweet smelling smoke that’s light and white – almost like incense. Dry pine needles and eucalyptus leaves are the items my mentor Hilary Kearney from Girl Next Door Honey first taught me to use in the smoker. They are natural, free materials we can find almost anywhere in San Diego. They burn for a long time, so it’s the standard fuel for Girl Next Door Honey beekeeping.
Here is how I categorize a few of my favorite plants or plant materials:
| Oily or Resinous | Herby & Sweet | Other |
| Citrus Peels
Rosemary Pine Needles Eucalyptus Lavender |
Mint
Basil Oregano Sage Rose |
Cut flowers (in the rose, mint, and sunflower family)
Flowers from pruning/deadheading Dill flowers and stems Fennel flowers and stems Cilantro/coriander stems |
You can make aromatic smoke packets out of paper bags, dried herbs, and citrus peels for your bee smoker, either as a sweet-smelling addition to your typical fuel source or as a replacement fuel.
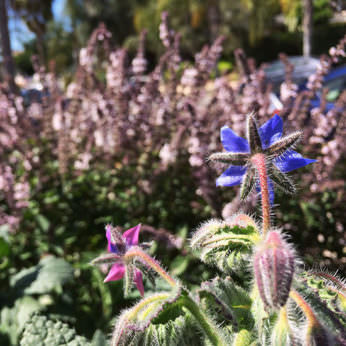
After deadheading your flowers, save the blooms to dry.
[mf_h2 align=”left” transform=”uppercase”]Step 3: Start Drying[/mf_h2]
Bundles: I dry herbs like oregano and lavender in bundles, hanging from a hook. Indoors or in a dry outdoor environment, this process may take more than a week. Herbs should be very dry. You’ll know they’re ready when the stems in the middle of the bundle crack and snap, and the leaves crumble between your fingers.
Stringing: I dry citrus peels by stringing them on hemp twine like bead, using a large-eye blunt needle. Drying this way may take up to two weeks. If the citrus peels snap cleanly when bent, like a cracker or piece of toast, they are dry enough.
Trays: Spread finer materials, like flower petals or basil leaves, on cookie sheets. First, break apart flowers and cut up any stems so they dry at about the same rate as the leaves. Then, leave the sheets in your gas oven to dry over the course of a few days. (The gas oven’s pilot light should provide enough gentle heat to dry the materials.) If you find that they’re not drying well, or if you have an electric oven, turn it on the warm setting for 10 to 15 minutes once or twice a day. Just like any baking project, don’t leave the materials untended while your oven is on.
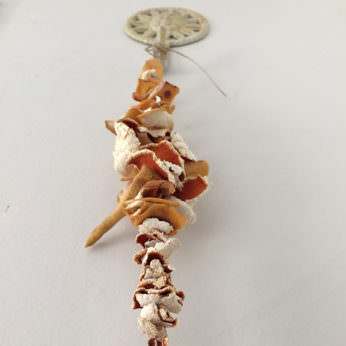
A string of citrus peels drying.
A bundle of herbs hanging to dry.
[mf_h2 align=”left” transform=”uppercase”]Step 4: Make Your Blends[/mf_h2]
This process is about experimenting, so don’t be afraid to create your own blend of materials. Blends can be simple with just two ingredients, or more complex with an eclectic medley of oily, herby, and aromatic material. For your first few times drying and blending, be sure to test what you have created in your smoker prior to working with the bees. See how long the items burn, if you would like to reduce or increase certain materials, and to gauge how well you like the smoke. A few trials runs will teach you a lot about the materials you have gathered and saved.
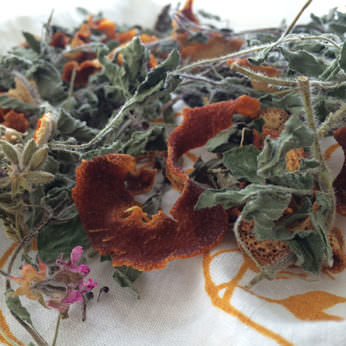
A blend of dried materials.
[mf_h2 align=”left” transform=”uppercase”]Step 5: Fold Your Packets[/mf_h2]
Save brown paper grocery bags or plain packing paper to make simple packets to hold your fuel blends. It’s okay for the paper to have some printing on it, as long as the inks are soy-based. With scissors and a few folds – and no adhesive – it is easy to make a sturdy packet, so you don’t have to burn glue or tape. There are excellent tutorials on YouTube to help with this. I’ve recently settled on a design on the Paper Kawaii YouTube channel called “Easy Origami Envelope.” I make my packets 4 to 6 inches long and big enough so that I can nestle one to two large handfuls of my blends inside. (Each handful is about a full coffee mug of material.)
You could also use small brown-paper lunch bags, which are very easy to fill and seal with just a few folds.
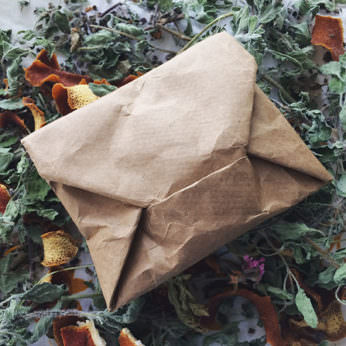
A finished fuel packet, ready to be placed in the smoker.
[mf_h2 align=”left” transform=”uppercase”]Step 6: Start Burning![/mf_h2]
I store my envelopes in a small basket near my beekeeping equipment, where they’re handy when it’s time to gather my tools. I usually use two packets per beehive inspection, and I keep a bag of loose, dry pine needles and torn pieces of egg cartons with me as supplemental fuel. The packets can go straight into the smoker chamber after the paper has been lit on the bottom with a match. It usually takes a few squeezes of the bellows to get the flames to catch. If the packet doesn’t catch, I light a small handful of pine needles or a piece of egg carton under the packet.
Remember: Burning a noxious material or something that burns very hot can hurt the bees or singe them. Don’t overuse your smoke; one to three puffs of herbal smoke will work.
That’s it – have fun!
A version of this article originally appeared on Girl Next Door Honey’s blog, beekeepinglikeagirl.com.
Popular
Any bee removal/relocators in the San Fernando valley near Los Angeles?
Have small orange orchard and honey bees to pollinate.